
Mods

- 2667
- 327
- 0
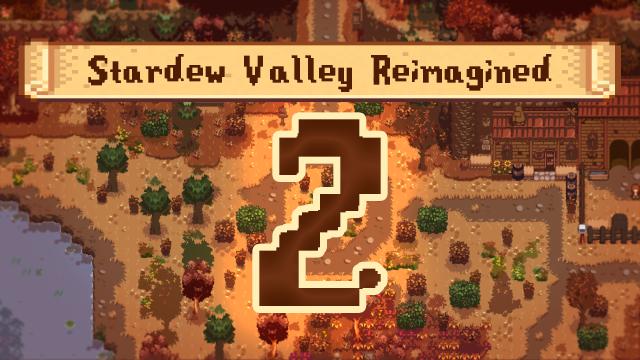
. This mod for Stardew Valley adds a new, fresh and polished visual for all open maps. Buildings remain in the same places, as well as NPCs and events! The first version of the mod failed to show itself with the release of the game version 1.4 due to a lot of bugs and errors. With the update, many new features were added, which required the creation of a new modification. And here it is! The modification should not conflict with other mods and new content. Features 1) Each map with open space was reworked to give the game a fresh look 2) More trees, berry bushes, gathering opportunities 3) All grass can be cut, and trees can be cut down 4) The Dwarf now has its own small bed 5) Empty/unused zones are now engaged 6) All maps can be enabled or disabled at will in the configuration file Installation 1) Install smapi, content patcher, daisyniko's tilesheets 2) Download the mod and unpack it into the Stardew Valley/Mods folder 3) Launch the game using smapi When using old saves, you will need to reload trees, bushes and garbage through console commands or with the ResetTerrainFeatures mod.

- 1430
- 258
- 0
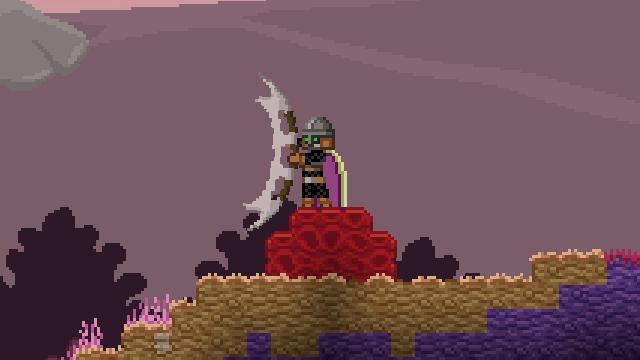
3) Запустите игру This modification for Starbound allows you to create a traditional Klingon cutting weapon from the Star Trek universe. The weapon fits well into the game and finds its application. It is created at the forge from 10 iron ingots and 300 pixels. Characteristics Weapon type: two-handed axe Rarity: unusual Attack speed: 2.5 Damage per hit: 18 Installation 1) Unpack the mod archive 2) Place the .modpak file in your mod directory 'Starbound/giraffe_storage/mods' 3) Launch the game
- 3694
- 539
- 0
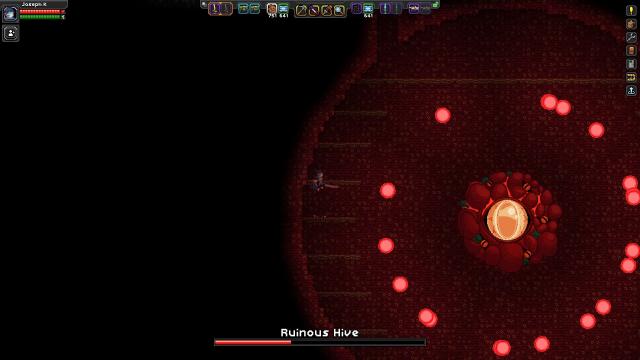
. Modification adds a big and interesting mission to Starbound. Ester Bright learns that Earth was not completely destroyed! It's time to return to the forgotten planet and explore the dark secrets lying in its depths. Content - Huge mission taking place on the remains of the planet Earth - 6 unique bosses - 12 unique monsters - 3 units of unique weapons Attention! This mod is not compatible with other mods that modify S.A.I.L. When the modification added the mission, do not delete the mod! This will lead to an error! Therefore, you may want to make backup copies of your game files just in case. How to start The quest can only be obtained at the end of the game, after defeating the Destroyer. Also, the task will become available after completing the head hunting quests. If for some reason the task still does not appear, go to the /admin mod and enter the command /warp instanceworld:ruinedearth to start the mission. If for some reason you can not start the second mission, use the command /warp instanceworld:trueruinplanet.

- 6167
- 1171
- 0
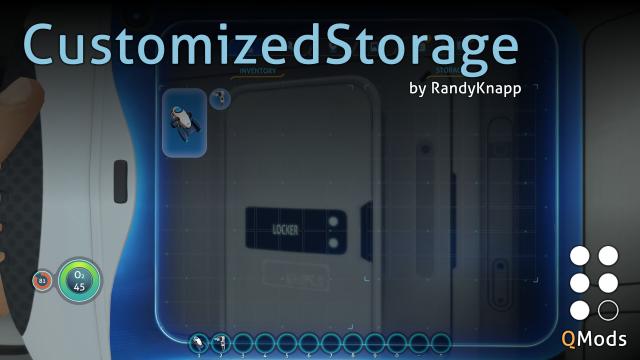
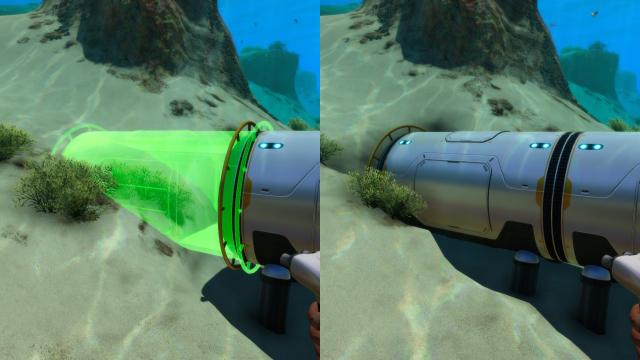
4) Отредактируйте файл config.json, дабы внести нужные вам изменения. This is a modification for Subnautica that allows you to change the number of slots in a certain storage. By default, all values are the same as in the regular game, so you will need to edit the config.json file to make the necessary changes. Configuration Most objects have a simple structure "Name": { "width": 2, "height": 3 } By changing the length (width) we will change the number of available slots horizontally, and by changing the height (height) - horizontally. The total number of slots can be calculated by multiplying the length by the height. Important! The length and height values must be greater than 1 and less than 10000. Let's look at what storages we can change by simply setting the length and height: 1) Inventory - character inventory 2) SmallLocker - wall cabinet 3) Locker - wardrobe 4) EscapePodLocker - storage on rescue capsules 5) CyclopsLocker - cyclops storage 6) WaterproofLocker - waterproof container 7) CarryAll - suitcase 8) SeamothStorage - mote storage 9) BioReactor - bioreactor. There are two storages left that have additional fields: 1) Exosuit - crab storage heightPerStorageModule - determines the height of the storage module baseHeight - determines how many storage modules we can fit into the equipment. 2) FiltrationMachine - water purification station. maxSalt and maxWater respectively determine the maximum amount of salt and water. Important! For the water purification station, the sum of maxSalt + maxWater cannot exceed the product of width * height! Installation 1) Install QMods 2) Unzip the archive to the game folder 3) Launch the game 4) Edit the config.json file to make the necessary changes.
- 5187
- 884
- 0
Данная модификация для Subnautica позволяет влиять на ландшафт и изменять его. Мод возвращает удалённую разработчиками возможность самостоятельно влиять на ландшафт, заниматься терра-формированием. Дисклеймер Официально механика терра-формирования удалена потому, что она сильно снижала производительность. Этот мод создан на основе последних подходов к генерации ландшафта в игре, что помогло улучшить производительность. Из-за этого лагов или просадок кадров не было обнаружен во время терра-формирования, сохранения мира и загрузки. Однако помните, что мод нужен для введения небольших корректировок в ландшафт для дизайна, а не создания каких-то новых пещер, глубин и так далее. Это, конечно, возможно, однако, может сказаться на производительности. Помните, что изменение ландшафта может происходить не моментально. Особенности - Ваши сохранения, где вы изменяли ландшафт, перенесены в папку CompiledOctreesCache в вашей папке с сохранениями - Позволяет частично закапывать элементы при помощи строителя. Мод автоматически изменяет ландшафт вокруг модулей после завершения их постройки - Репульсионная пушка позволяет удалять небольшие куски ландшафта при "выстреле" в них - "Obsolute" terraformer tool инструмент, доступный только через консоль ("item terraformer") позволяет удалять и добавлять порции ландшафта - "dig #" консольная команда, позволяющая убрать сферическую область вокруг персонажа. Персонаж будет являться центром сфера, а радиус сферы подставляется заместо #. Например: "dig 5" Настройка Вся настройка производится внутри файла config.json 1) rebuildMessages - уведомление, показывающее во время изменения ландшафта. По умолчанию включено 2) habitantModulesPartialBurying - позволяет строителю изменять ландшафт вокруг создаваемых им модулей. По умолчанию включено 3) spaceBetweenTerrainHabitantModule - позволяет настроить свободное пространство, которое создаётся при помощи настройки выше вокруг строительных модулей. Чем выше значение - тем большая часть пространства будет удаляться, если она мешает. Значение по умолчанию 1.0 4) terrainImpactWithPropulsionCannon - позволяет при помощи репульсионной пушки удалять небольшие кусочки ландшафта 5) destroyLargerObstaclesOnConstruction - функция позволяет удалять большие объекты(скалы, структуры), если они накладываются на строительный модуль. Объекты удаляются по завершению строительства. По умолчанию опция отключена, но если вы её включите, то будьте с ней аккуратнее. Установка 1) Установите QModsManager 2) Поместите контент модификации в папку QMods внутри папки с игрой Удаление 1) Удалите папку с модом из QMods 2) Также вы можете удалить папку CompiledOctreesCache в папке с вашими сохранениями, если она была создана
- 3379
- 520
- 0
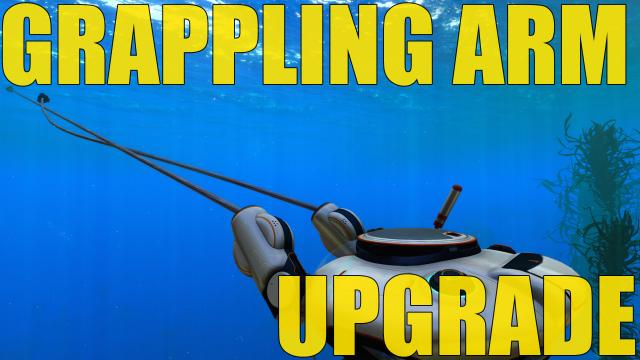
This modification for Subnautica allows you to create an improved version of the Crab Suit's Grappling Arm. The vanilla version is significantly inferior to the improved one. All improvements are made at the modification station. The mod is very well configured using the config.json file. Attention! Installing too high and strong indicators can cause physical bugs, be careful! Or have fun, it's up to you. To open the improvement blueprint, you need to additionally study 4 of its fragments after opening the grappling arm. After that, the improvement blueprint will become available to you. You can also specify in config.json how many scans are needed to open the improvements. If you set the value to 0, the improvement will be available immediately upon opening the grappling arm and no additional scans will be required. Item ID: "GrapplingArmUpgradeModule" Config.json Settings 1) armCooldown - recharge after use in seconds. Default 0.5, without improvement 2. 2) hookMaxDistance - maximum rope length. Default 50, without improvement 35. 3) hookSpeed - pull speed after attaching the arm. Default 50, without improvement 25. 4) acceleration - acceleration after attaching to an object. Default 20, without improvement 15. 5) force - arm strength after attaching to something. Default 600, without improvement 400. 6) fragmentCountToUnlock - number of fragments that need to be scanned additionally to open the blueprint. Default 4.
- 11303
- 2584
- 0
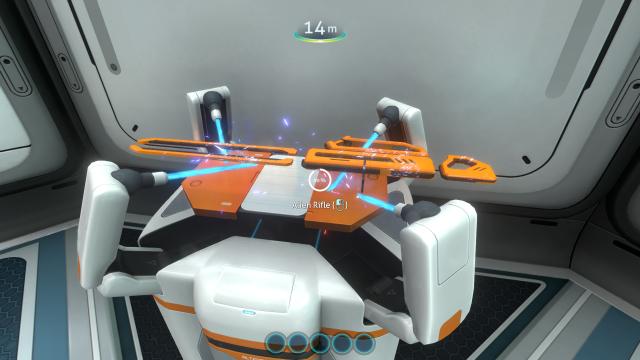
This simple modification for Subnautica allows you to create an alien rifle which is located on the alien base and is related to alien relics. In order to create this thing and finally give a resistance to underwater creatures, we need to scan the rifle, after which we will be able to create a weapon on the modification station. If you have studied the rifle before installing the modification, then the drawing will be added automatically. Shoot with the right mouse button. Also, with the help of the rifle you can extract resources in large resource deposits.
- 6953
- 871
- 0
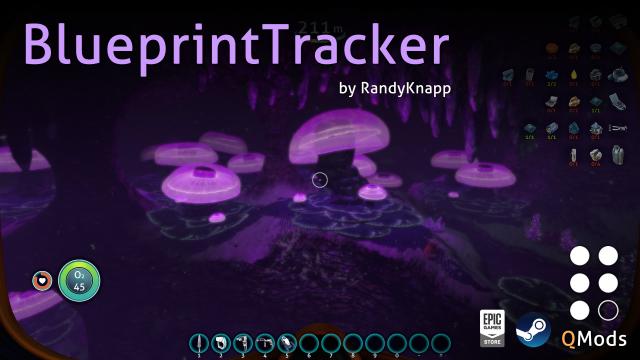
This modification for Subnautica allows you to have a very convenient and well-fitting interface, which as if it should have been in the game from the beginning! To pin a blueprint you need to open the "Blueprints" tab on your PDA, hover over the recipe you are interested in and press the pin icon. Then, as soon as you close the PDA, you will see how the progress of finding ingredients will be shown on the screen (by default at the top right). To unpin a recipe, open the PDA in the "Blueprints" tab and in the corner where you have pinned recipes, next to the items there will be a cross icon - press it and the blueprint will no longer be tracked. Settings Plus of the mod is quite flexible settings: - MaxPinnedBlueprints (int, default=13) sets the maximum number of blueprints that can be displayed on the screen. By default 13. Also, a maximum of 13 blueprints can be displayed on the screen at the same time. - Position (string, default="TopRight") is responsible for which corner the tracked items will be in. "TopLeft" at the top left, "TopRight" at the top right, "BottomLeft" at the bottom left and "BotttomRight" at the bottom right. - CornerOffsetX (int, default=20) is responsible for the horizontal offset from the screen edges - CornerOffsetY (int, default=20) is responsible for the vertical offset from the screen edges - TrackerScale (float, default=1.0) changes the size of the interface when displaying blueprints, makes it smaller or larger - FontSize (int, default=16) changes the font size - BackgroundAlpha (float, default=0.5) changes the transparency of the interface background. - ShowWhilePiloting (bool, default=false) indicates whether to display tracked blueprints while piloting vehicles (motorcycle, crab, etc.). To enable, specify true - ColorblindMode (bool, default=false) color blindness mode, needed for people suffering from daltonism. To enable, specify true Installation 1) Install QMods 2) Unpack the mod archive to the game directory 3) Launch the game