-
Games
Total materials on the site: 32130View all games 279
-
Marvel's Spider-Man 2
-
Mods
5 with 0 for Marvel's Spider-Man 2
All Hideouts in Marvel's Spider-Man 2
One of the side quests in the game is the search for secret caches, from which the player will receive details from Aaron Davis, Miles Morales' uncle. There are a total of ten vagabond safes hidden around the city. Finding them is only half the battle; solving a puzzle is required to open them.
To make the side activity available, you need to complete the sixth mission of the main storyline called "Error Correction." One of the quest objectives will be to find and open a cache.
For finding one cache, you get 300 experience points and 3 details, and for finding all, the player receives 2000 experience points and 8 details. Also, finding all safes can earn you the trophy "Co-Signing" and the move "Vagabond Strike."
Locations of all caches in the game
The safes are located one each in every district of the city.
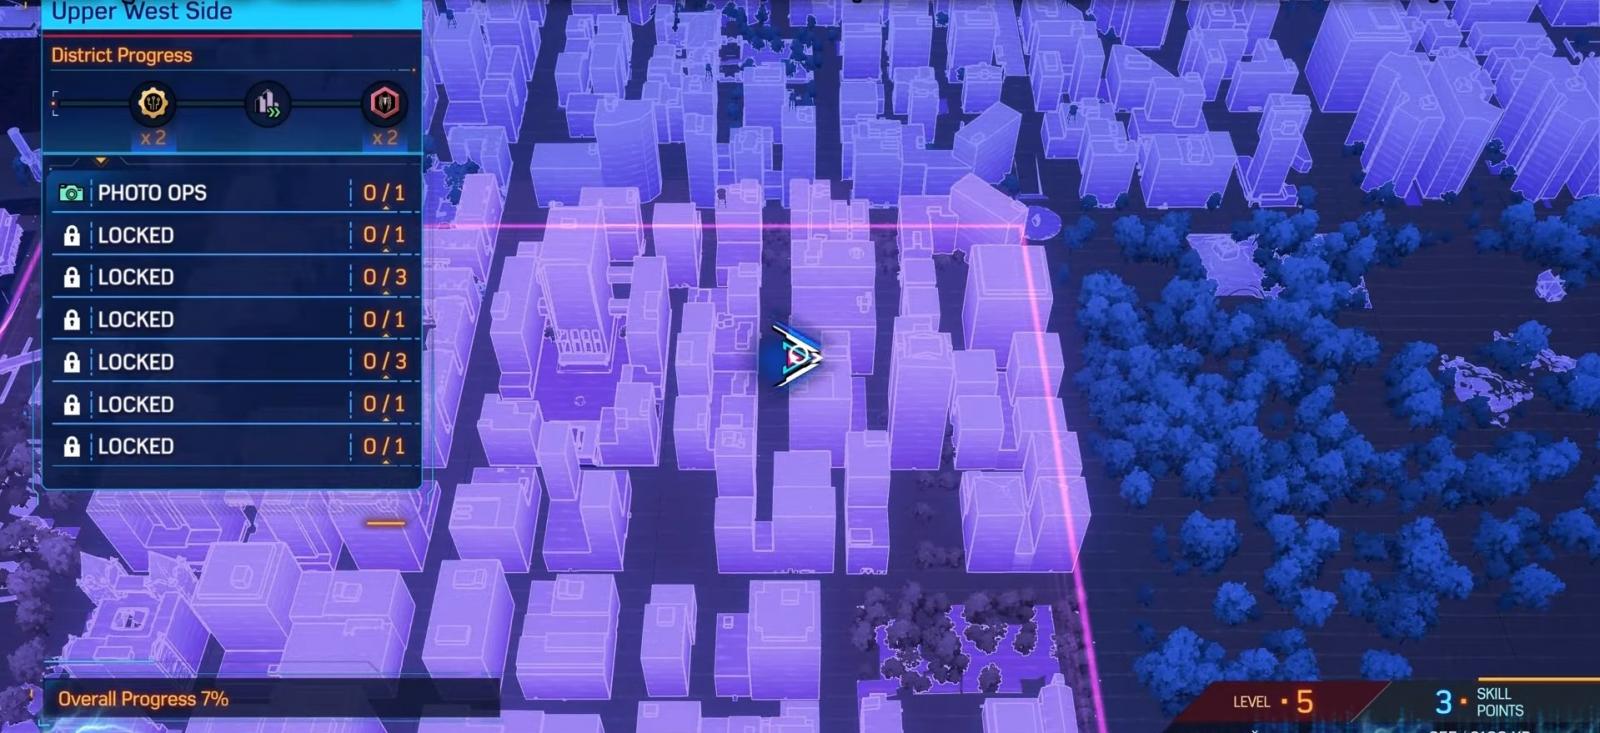
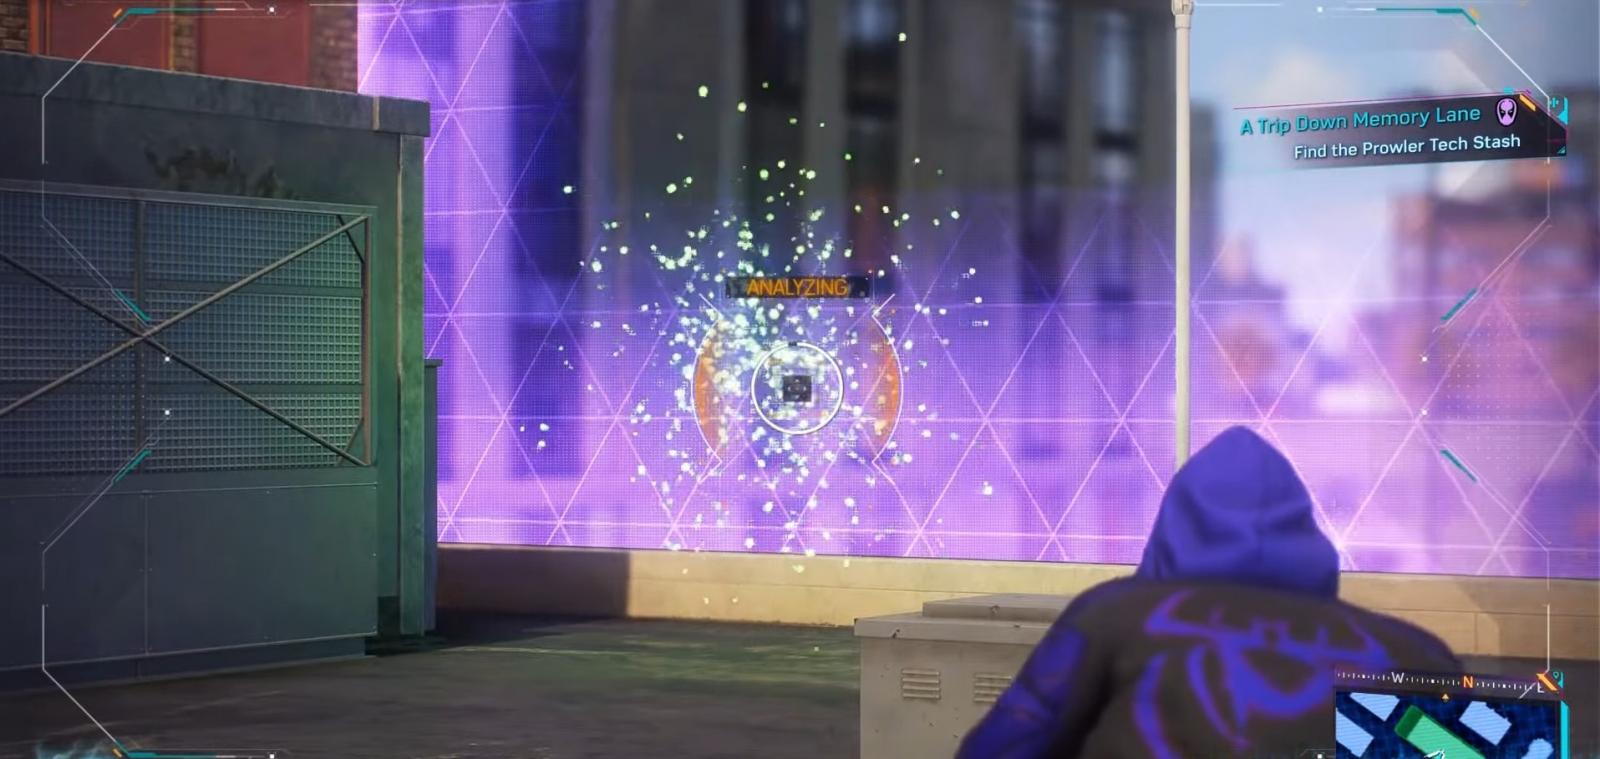
Upper West Side. Here you'll find the first quest cache.
Scan the shield hanging on the wall to get the prowler code.

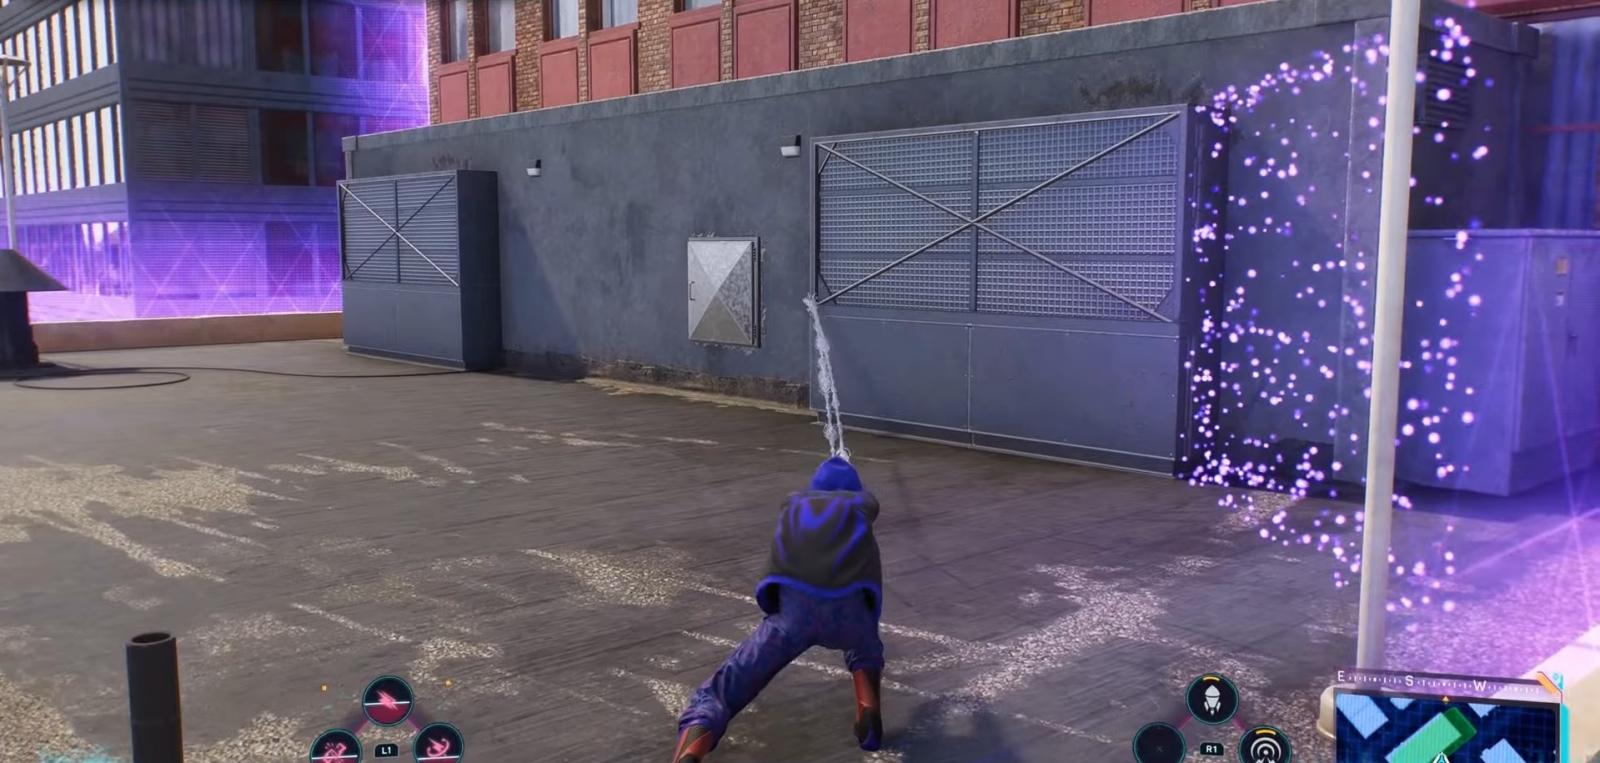
The next action will be highlighted - you need to move the metal gate.
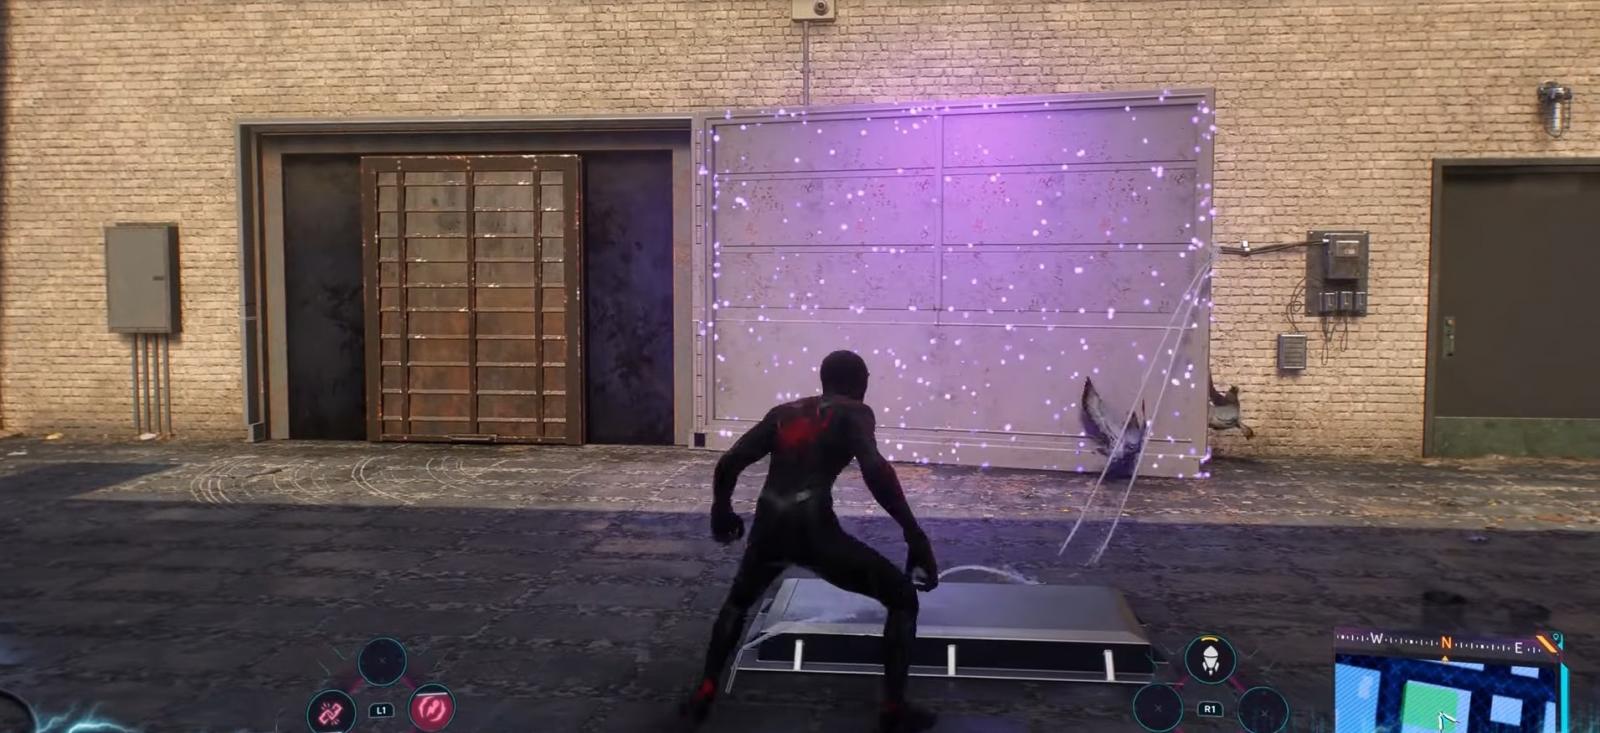
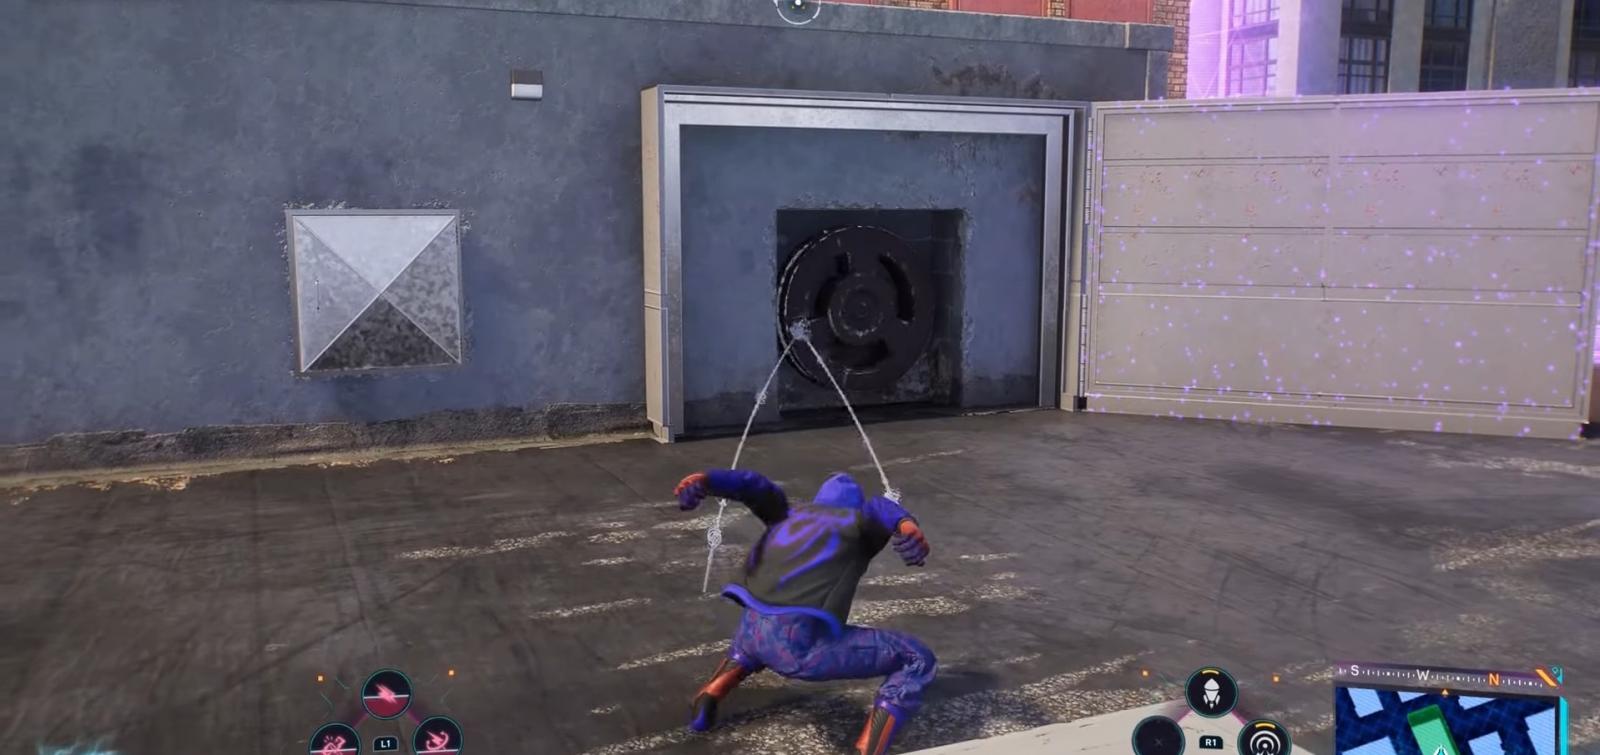
Scan the object again to get a hint. Jump on the beam from above and pull the metal door towards you using the web.
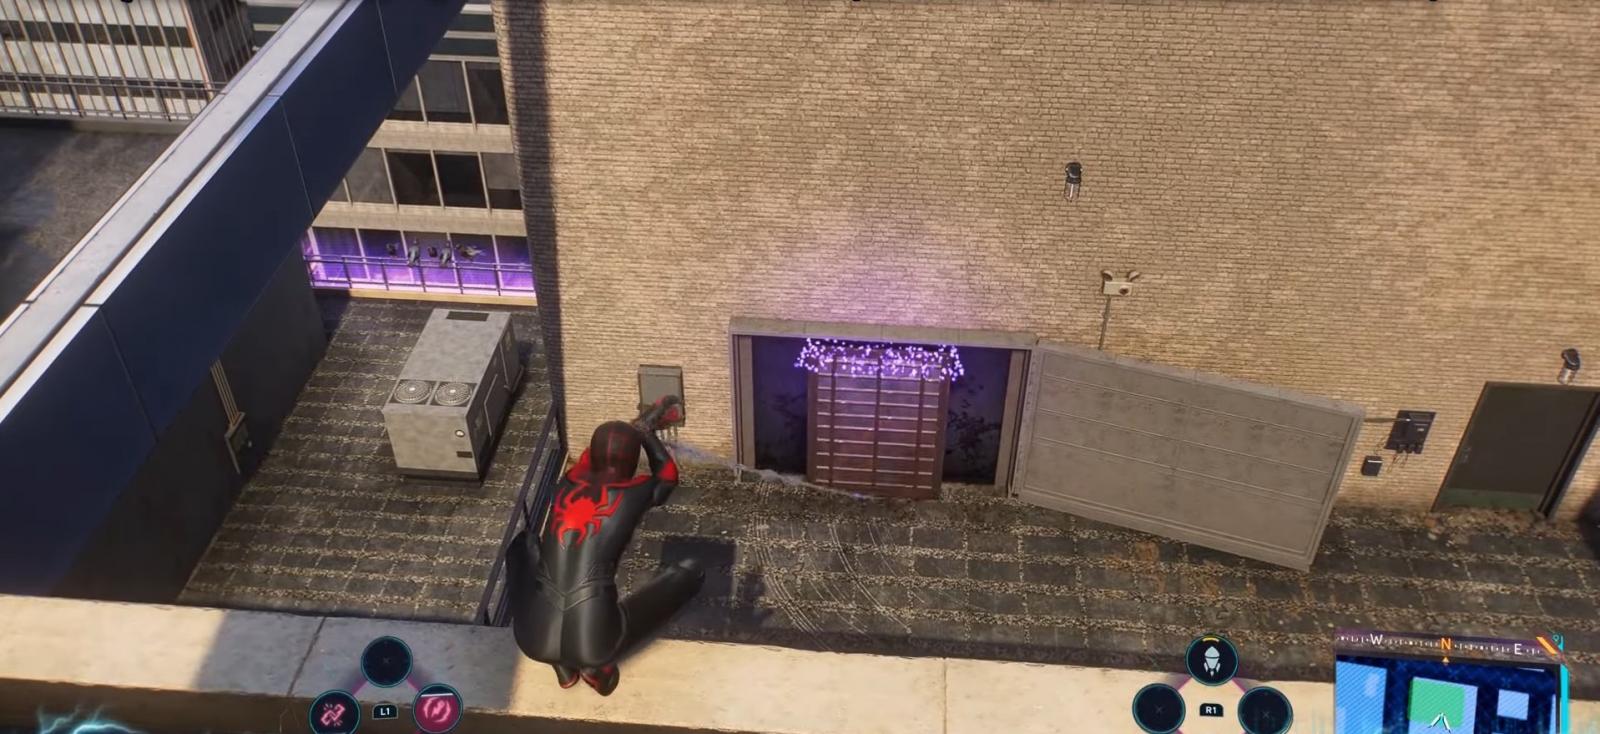
Go inside the building and discover the safe there.

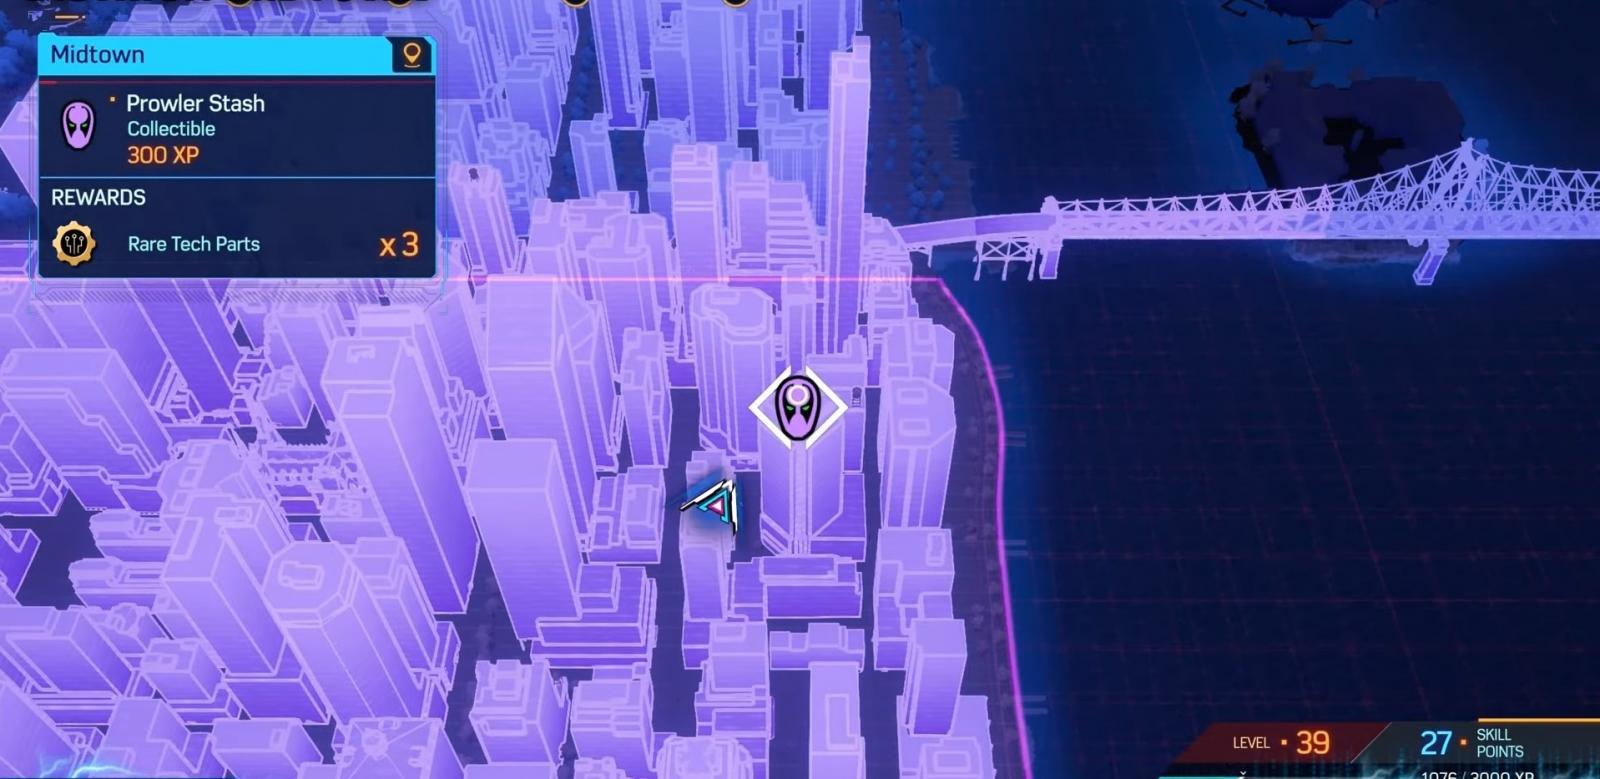
Midtown. Find the Braxton building and scan the logo on the wall.

Jump on the beam and, using the web, move the sign to gain access to the shaft.

Avoid the protective laser traps, move towards the fan, and slow down its blades with the web.

On the way, you'll encounter a few more fans, stop them the same way. Reach the end and find the safe.


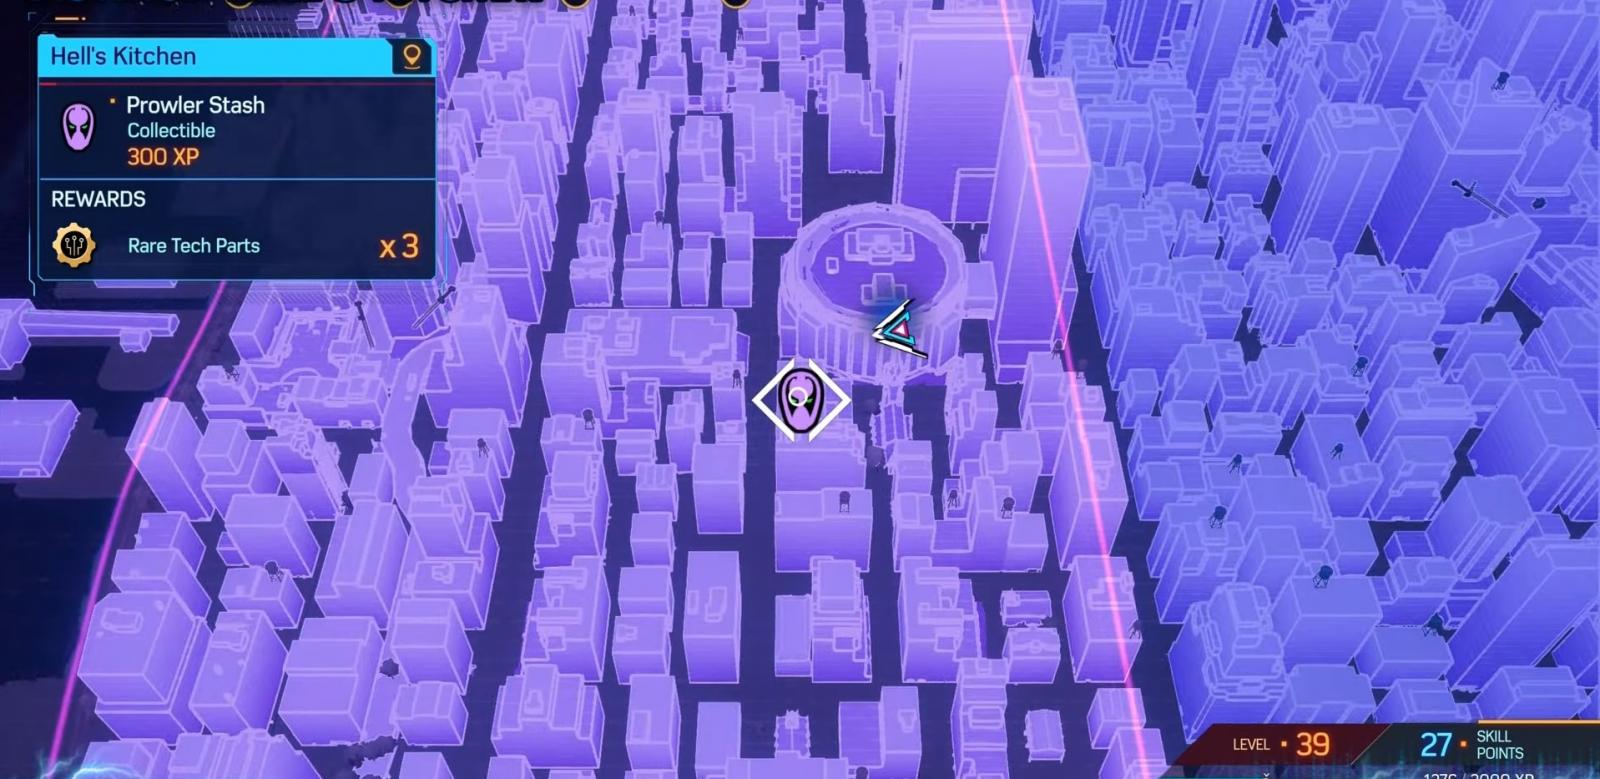
Hell's Kitchen. Jump on the billboard and scan the pipe on the opposite roof.
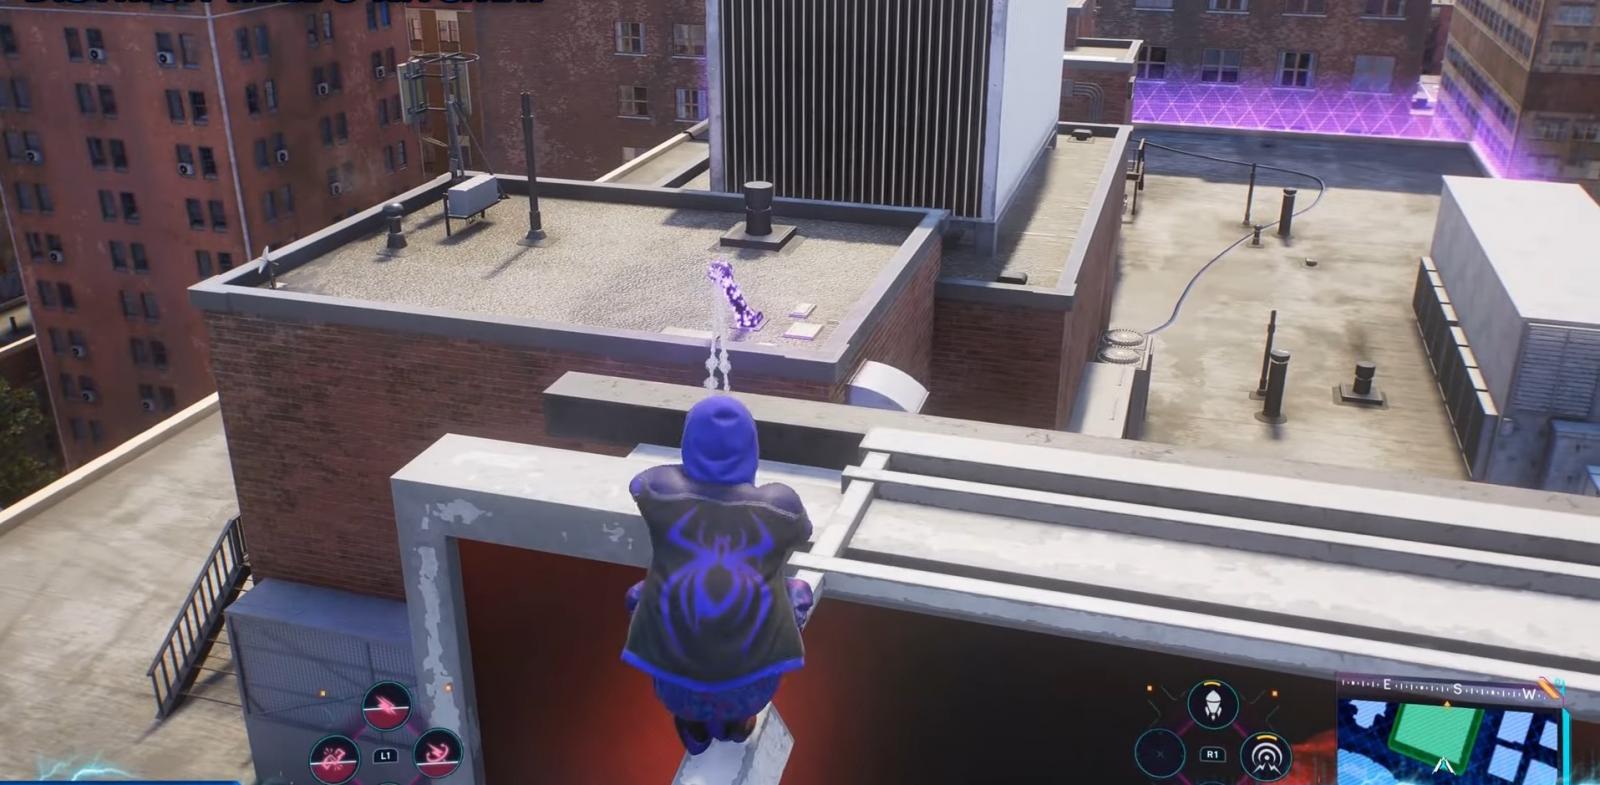
Stand right in front of it and pull it towards you. This will open access to the generator that needs to be broken.

There will be a second generator nearby; break it too.
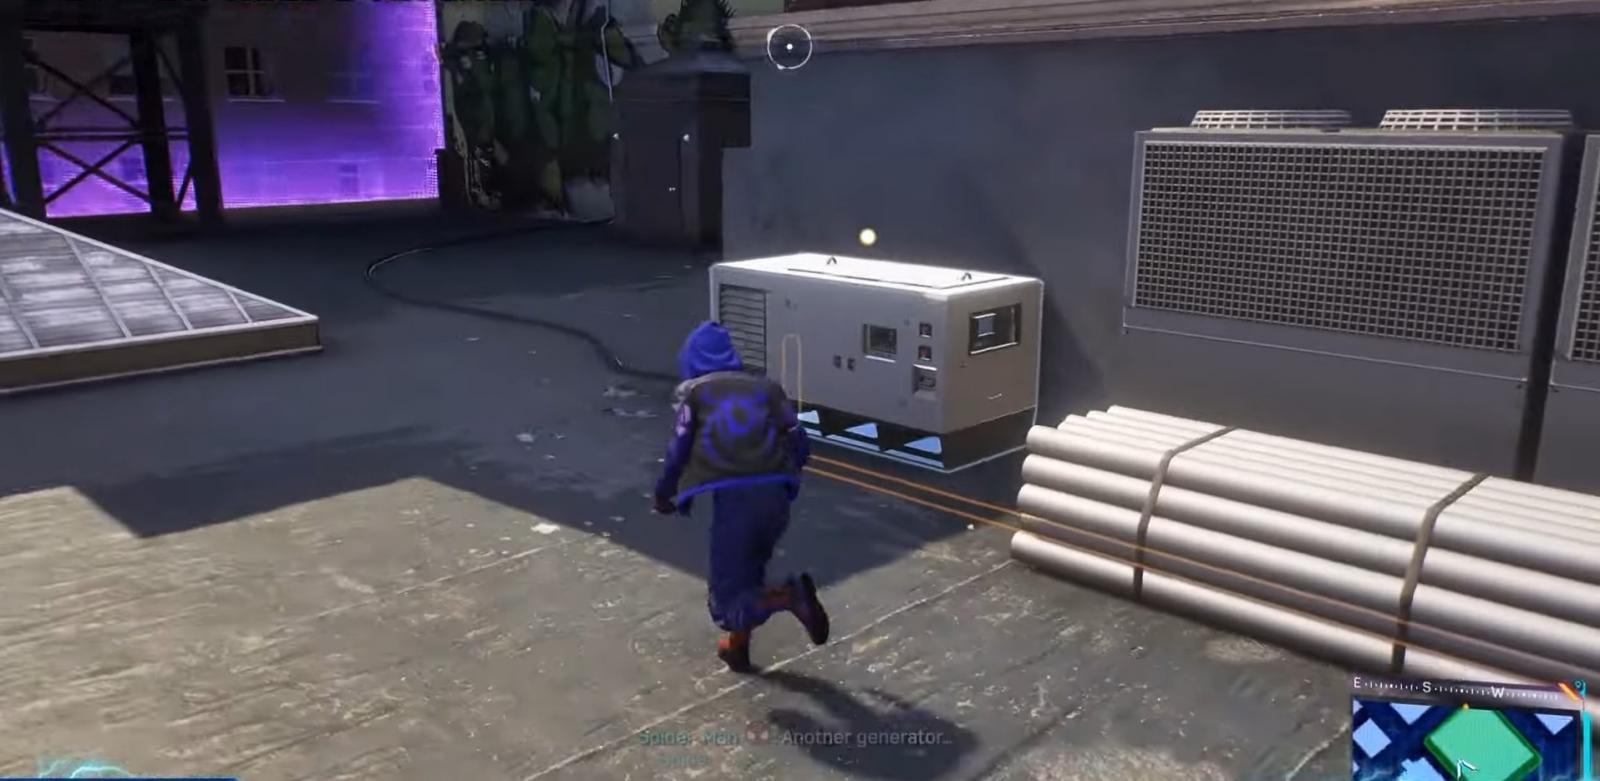
Using web shots, repair the torn electrical cable along its entire length.

At the end, there is an open door, and inside the room, you'll find the cache.

Greenwich. Jump on the roof of the skyscraper.


Scan the metal shield and jump on the corner of the building. Using web shots, pull the shield towards you; behind it will be the door to the cache.

There are three generators on the roof that activate with electric shocks.


Destroy them, and the door to the safe will open.

Downtown Brooklyn. Climb to the roof of the tallest building in the area.

Use the scanner to locate the lever below.

Activate it with a web shot; this action will open a metal shutter on the other side of the building.


Jump on it, scan the gates, and lift them. Behind them, you'll find the coveted cache.
Williamsburg. Climb to the lower level of one of the skyscrapers.

Use the scanner to analyze the electrical box.
Step back a bit to be able to move the iron gates.
This will open access to two rotating mechanisms. Activate them and lock with a web shot. Solved puzzle will grant access to the cache.

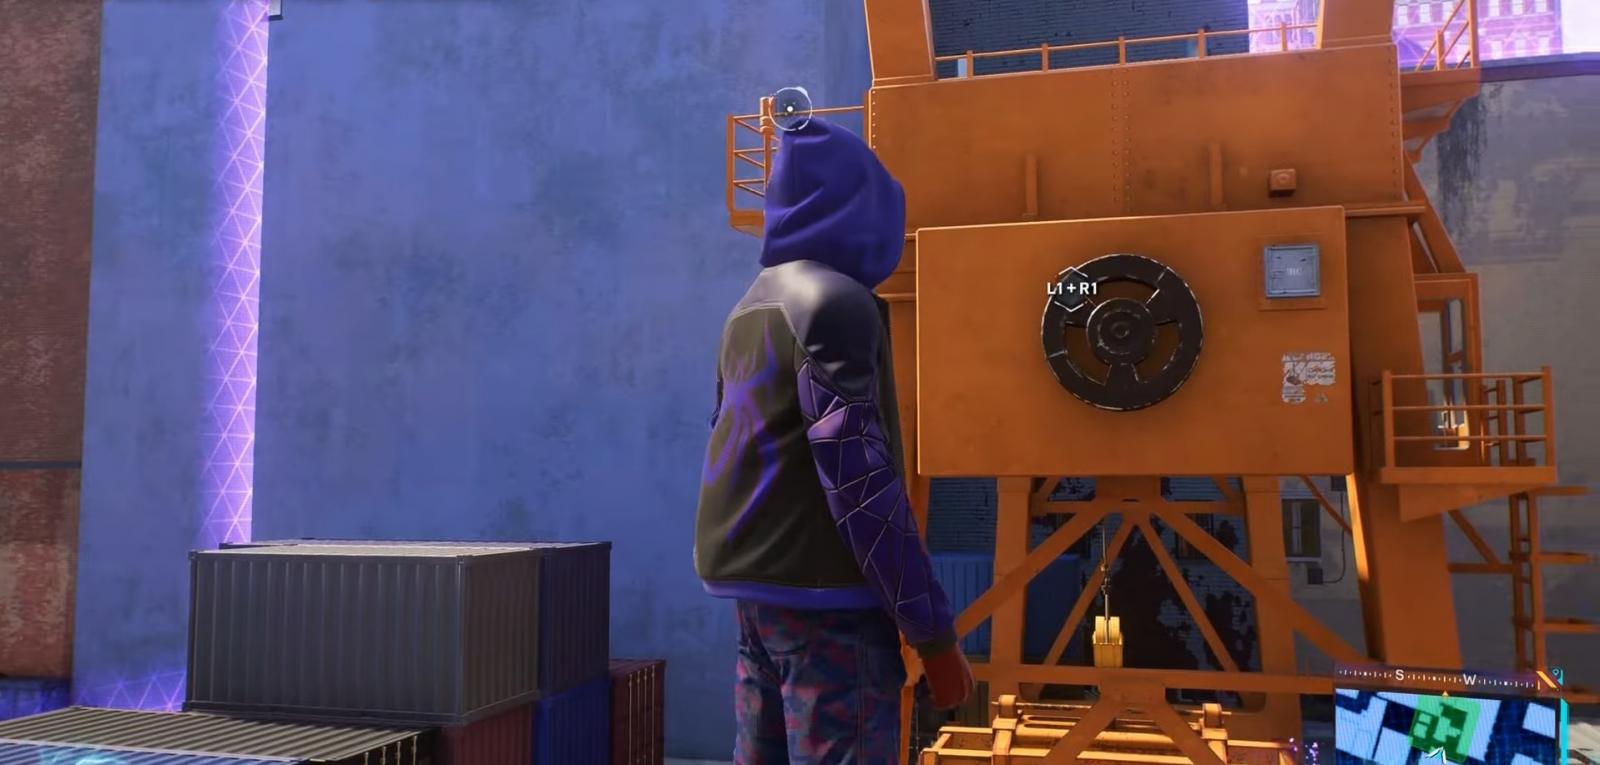
Little Odessa. Approach the large orange crane.

Go around it and find the rotating mechanism. By interacting with it, you'll be able to lift the container blocking the further path.
Move on and open the doors of the container. The cache will be inside.
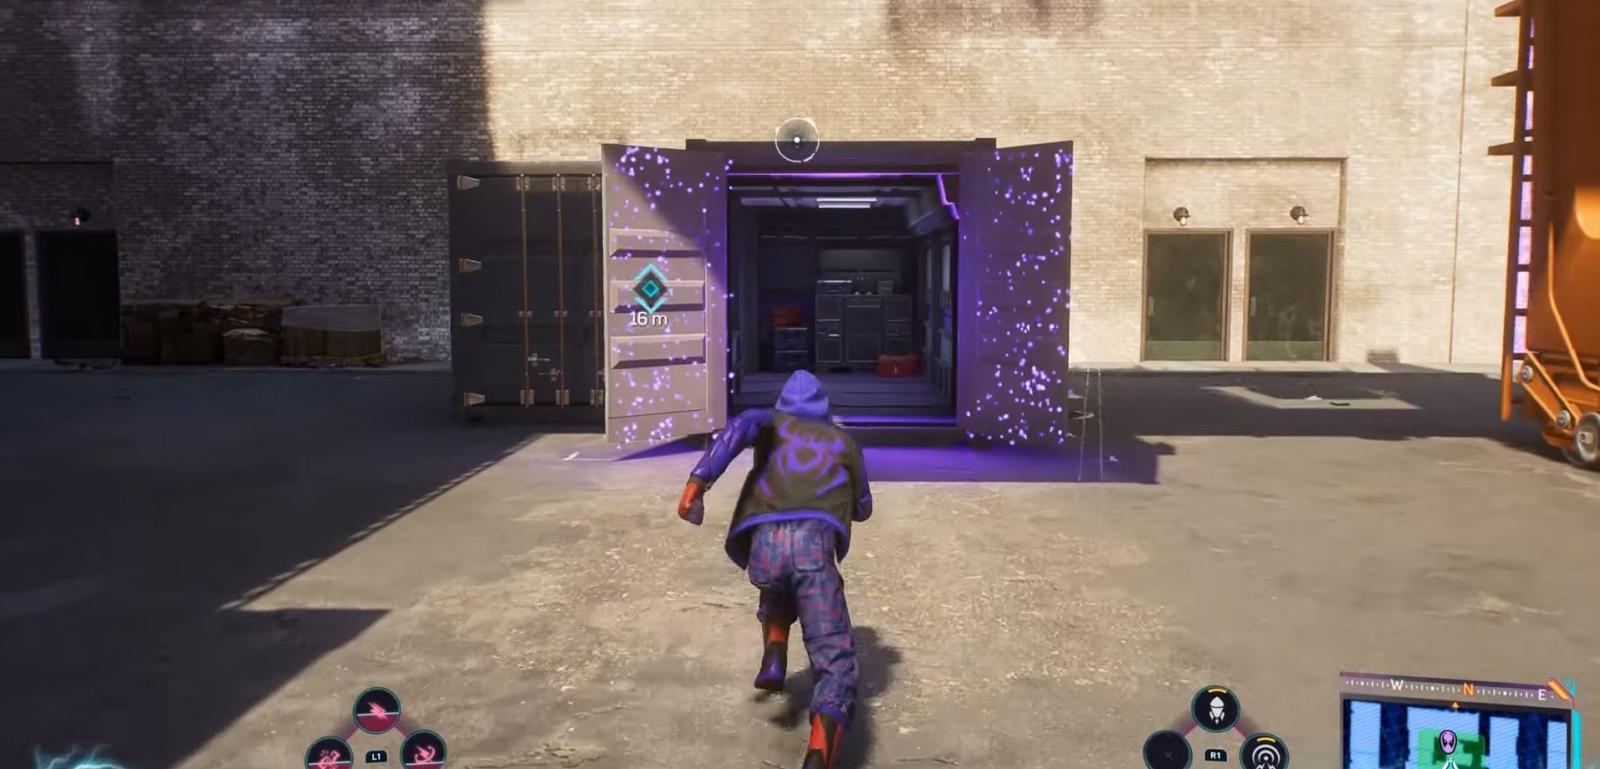
Downtown Queens. Climb to the roof of the skyscraper.
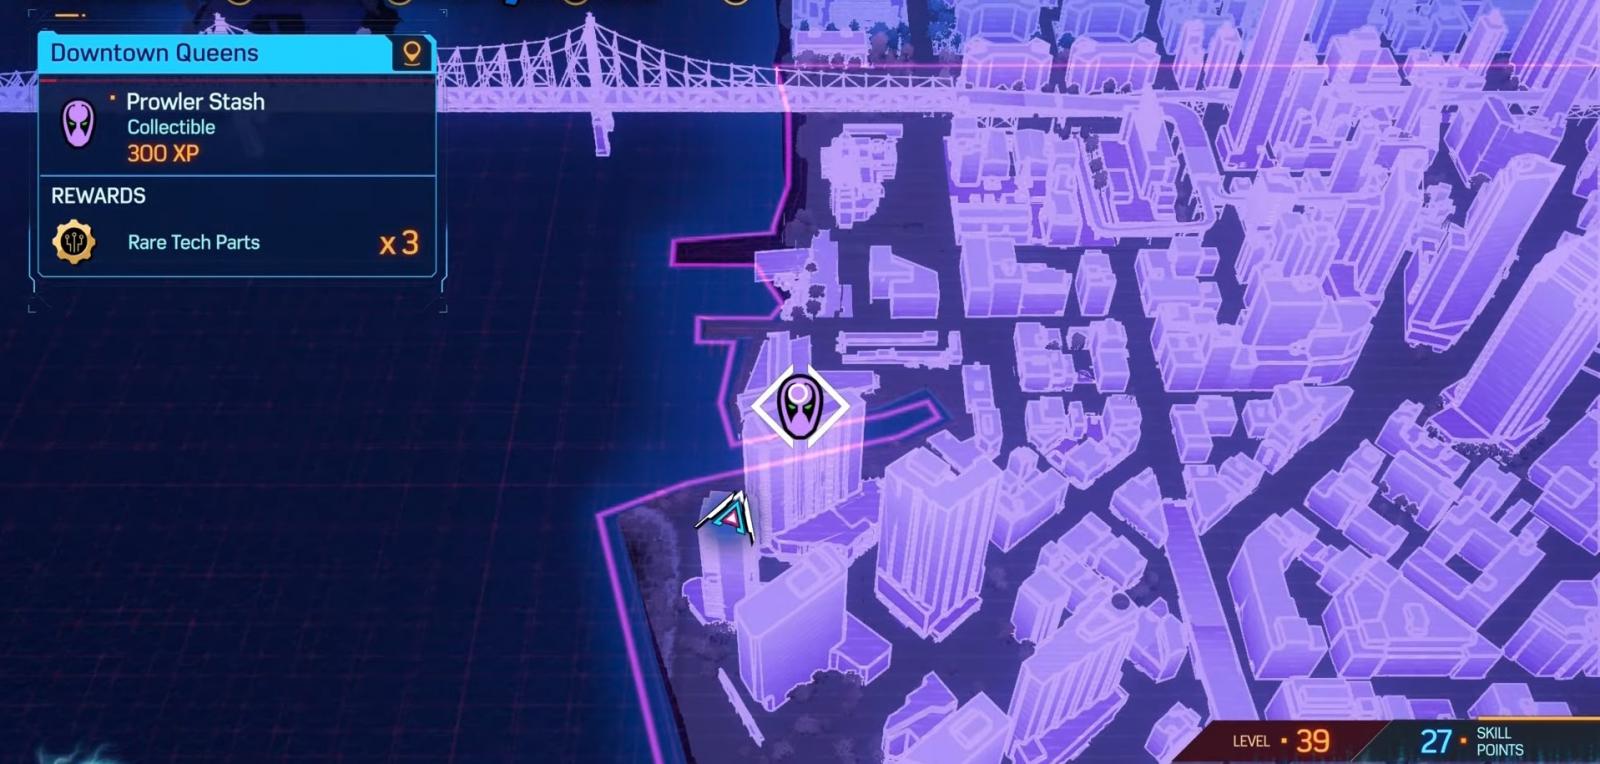
Use the scanner to analyze the air conditioner on the wall.

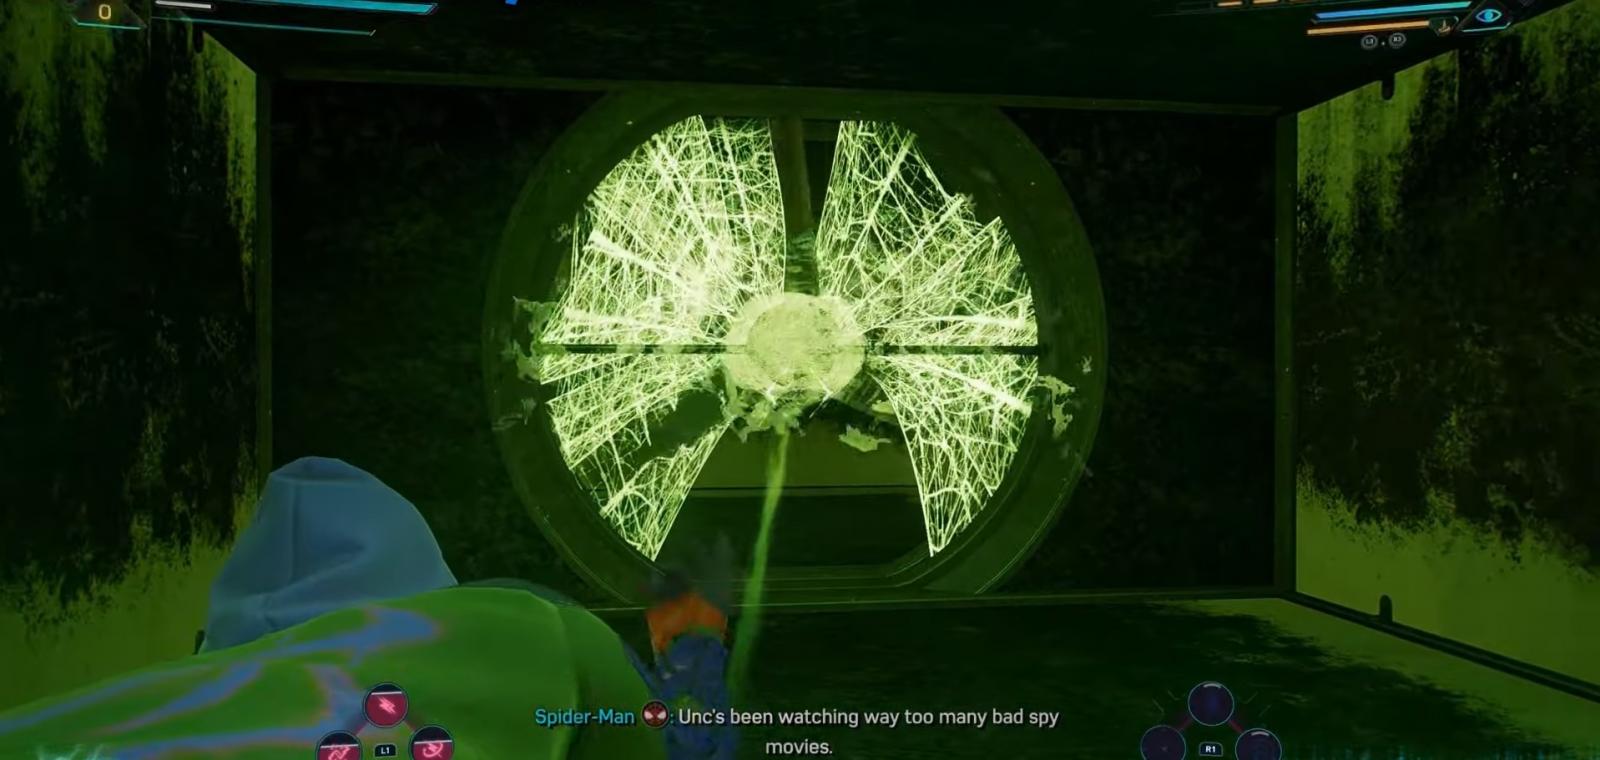
Jump up and lift the fans to open the path to the air duct.

Get inside and move forward, overcoming dangerous fans and laser traps.
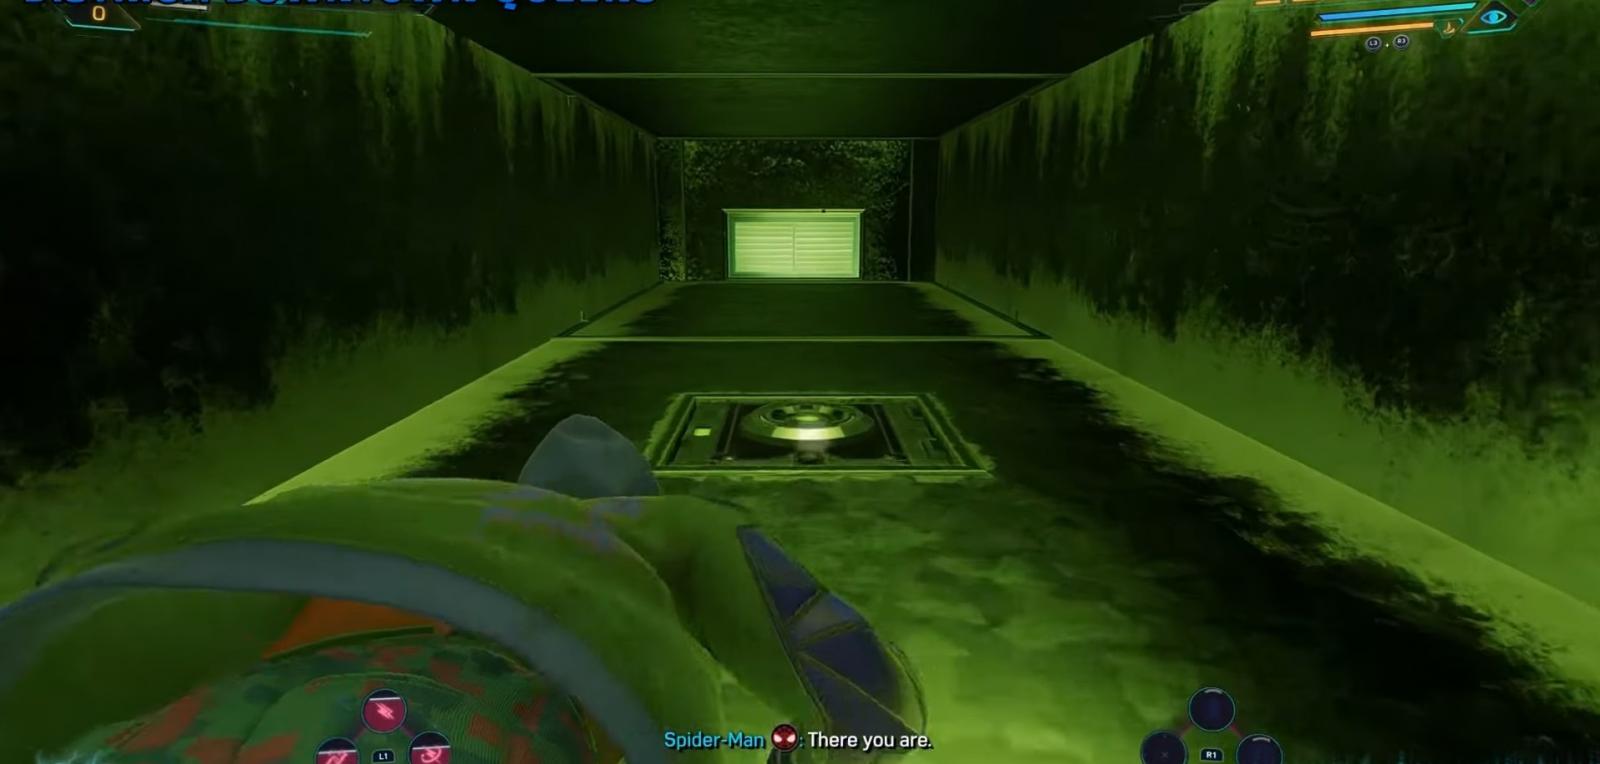
Find the lever, activate it, and go to the other part of the duct.

On the left side, you'll find the coveted cache.
Astoria. Jump on the top of the building and scan the metal shield.


Using the web, pull it to the left.

This will open access to a mechanism that activates only if you hit 4 different panels with electric shocks. The first panel is located right next to the door. The second one hangs on the wall above the cache.
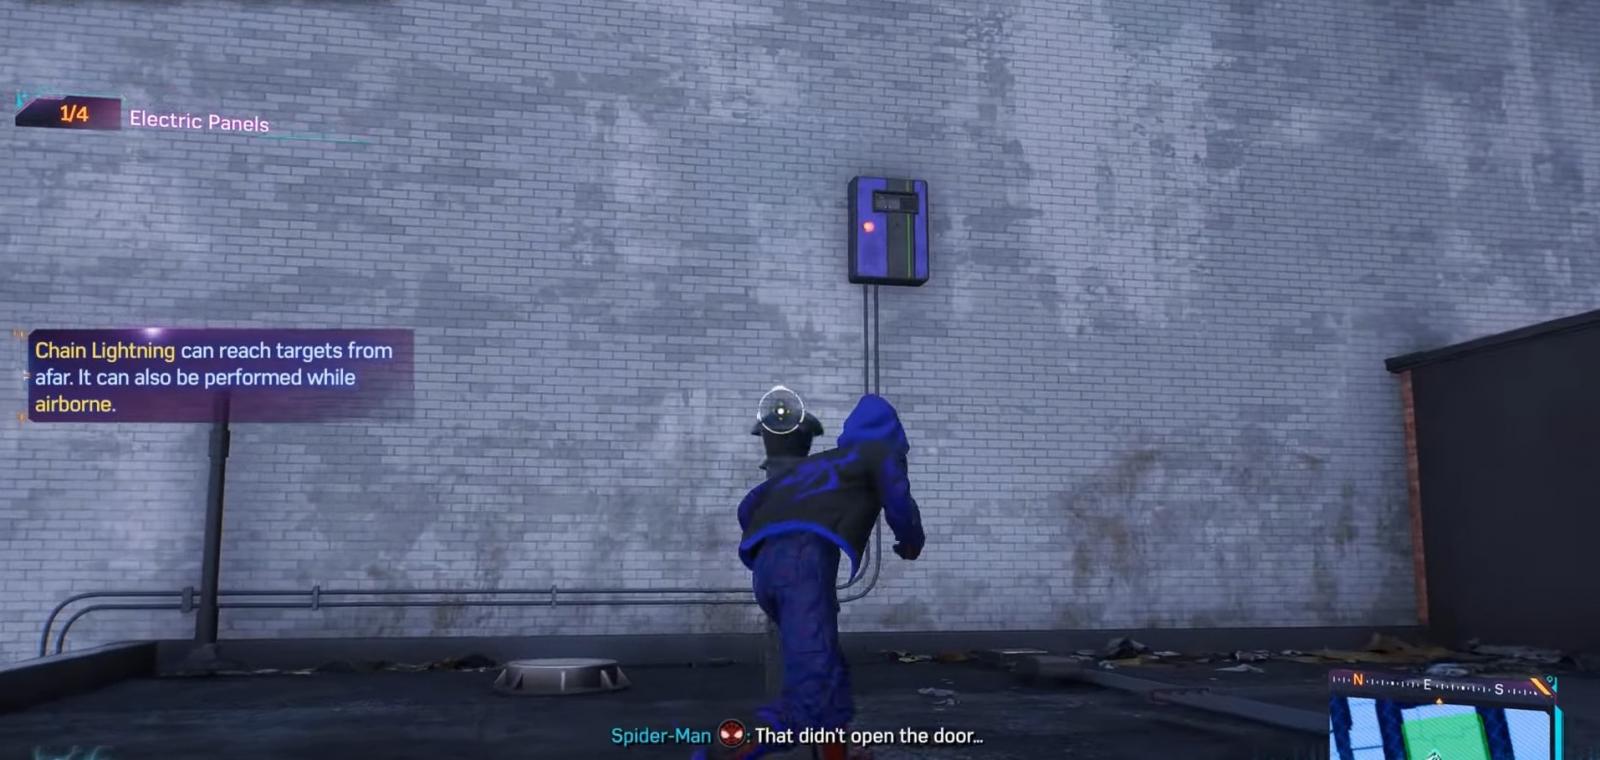
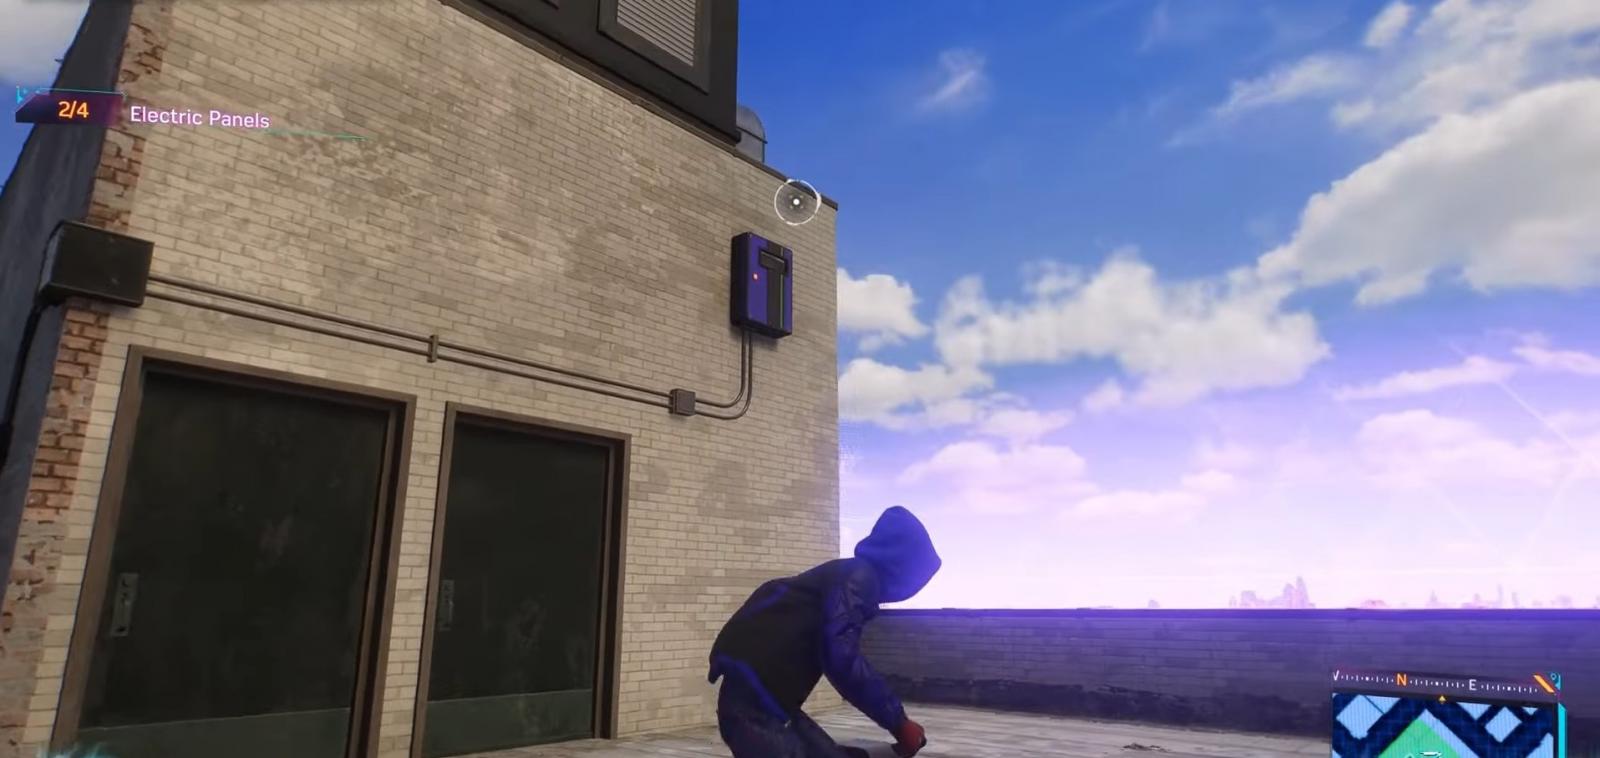
The third panel is on the level above the first, on the right side of the building.
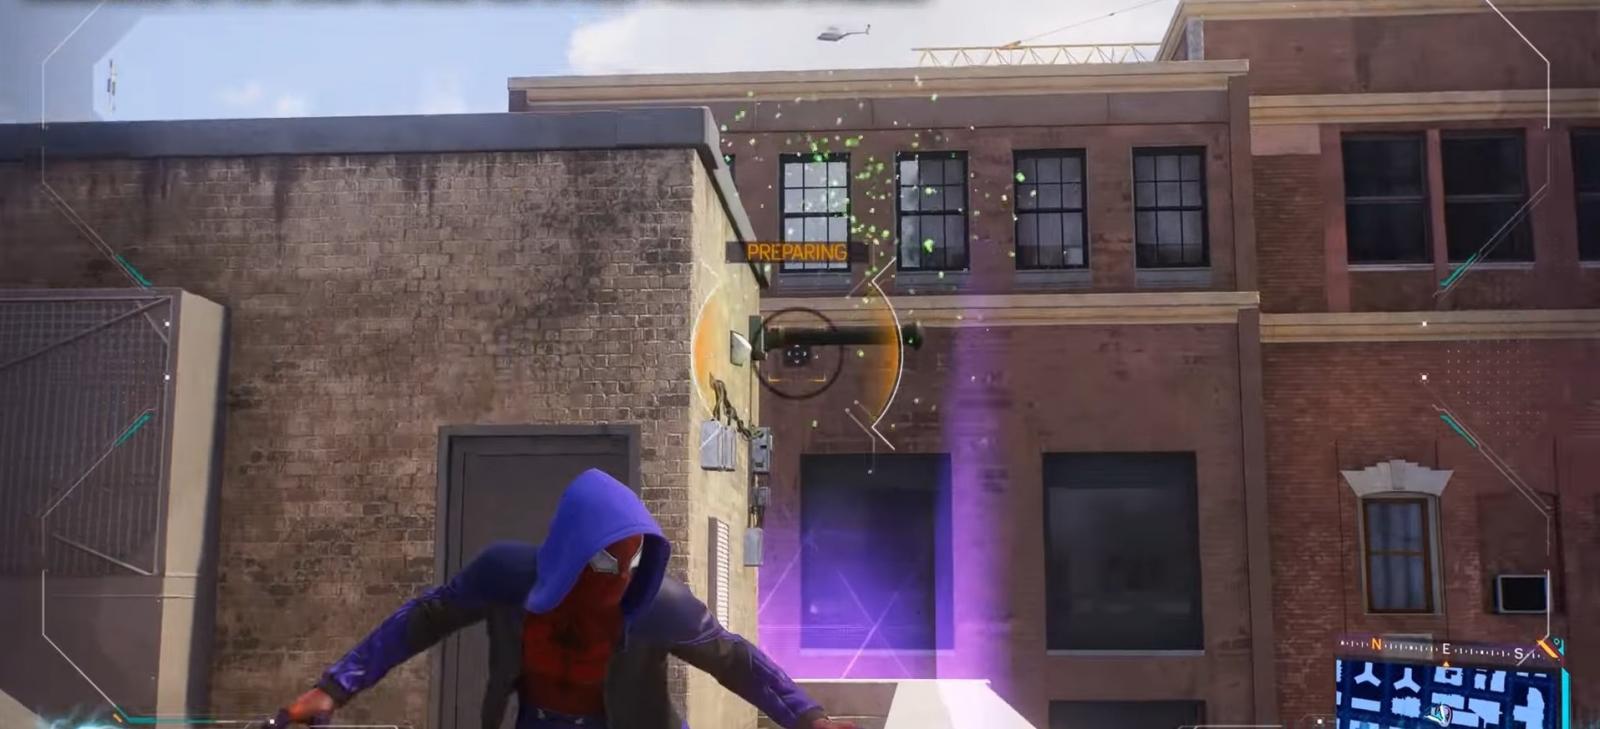
The last panel is on the top roof of the skyscraper on one of the walls.


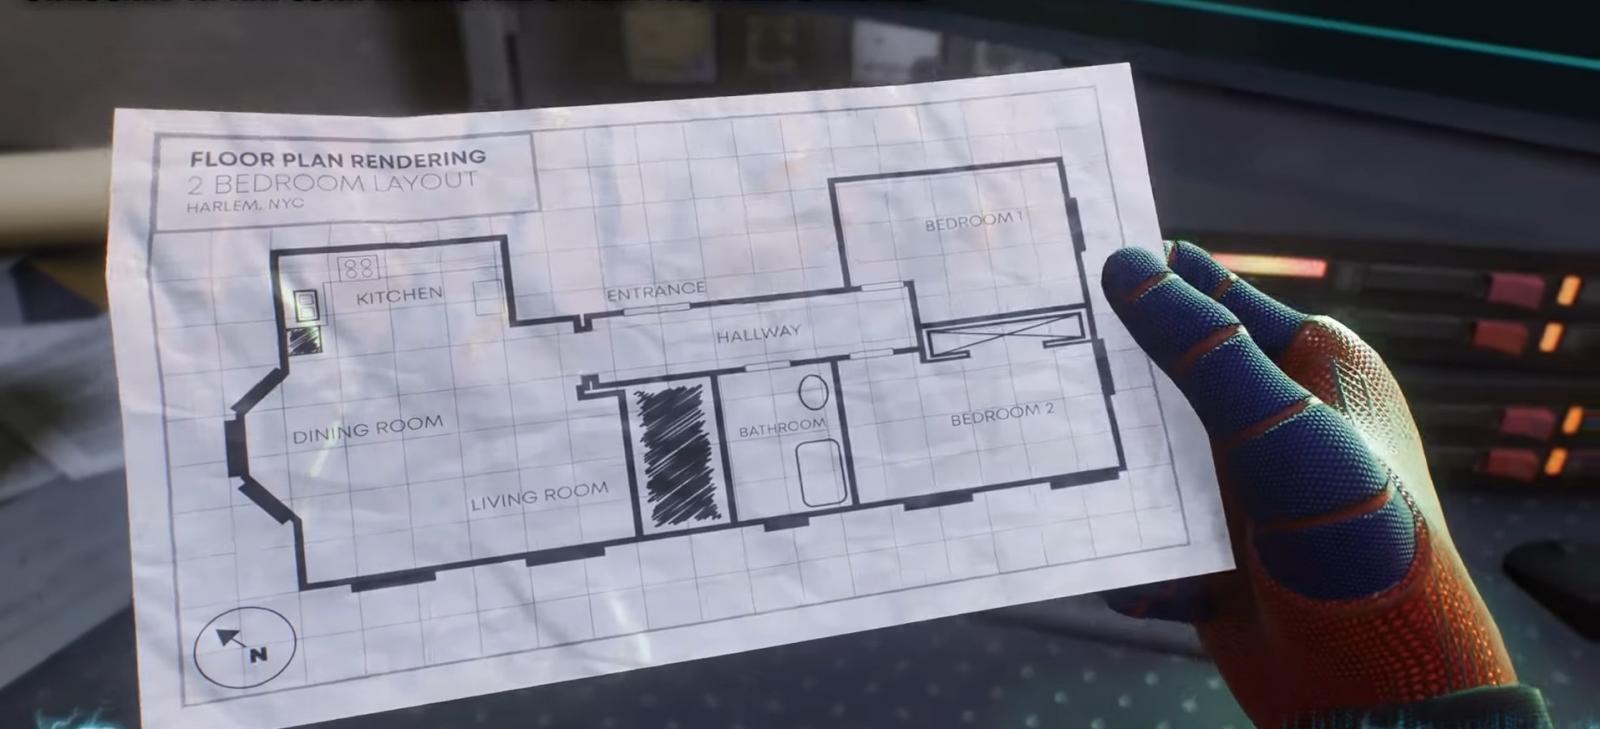
Harlem. Climb to the roof of one of the houses and scan the lever sticking out of the wall.

After that, pull it with the web.

Next to it, an opening will appear where you'll find Morales's residence plan.
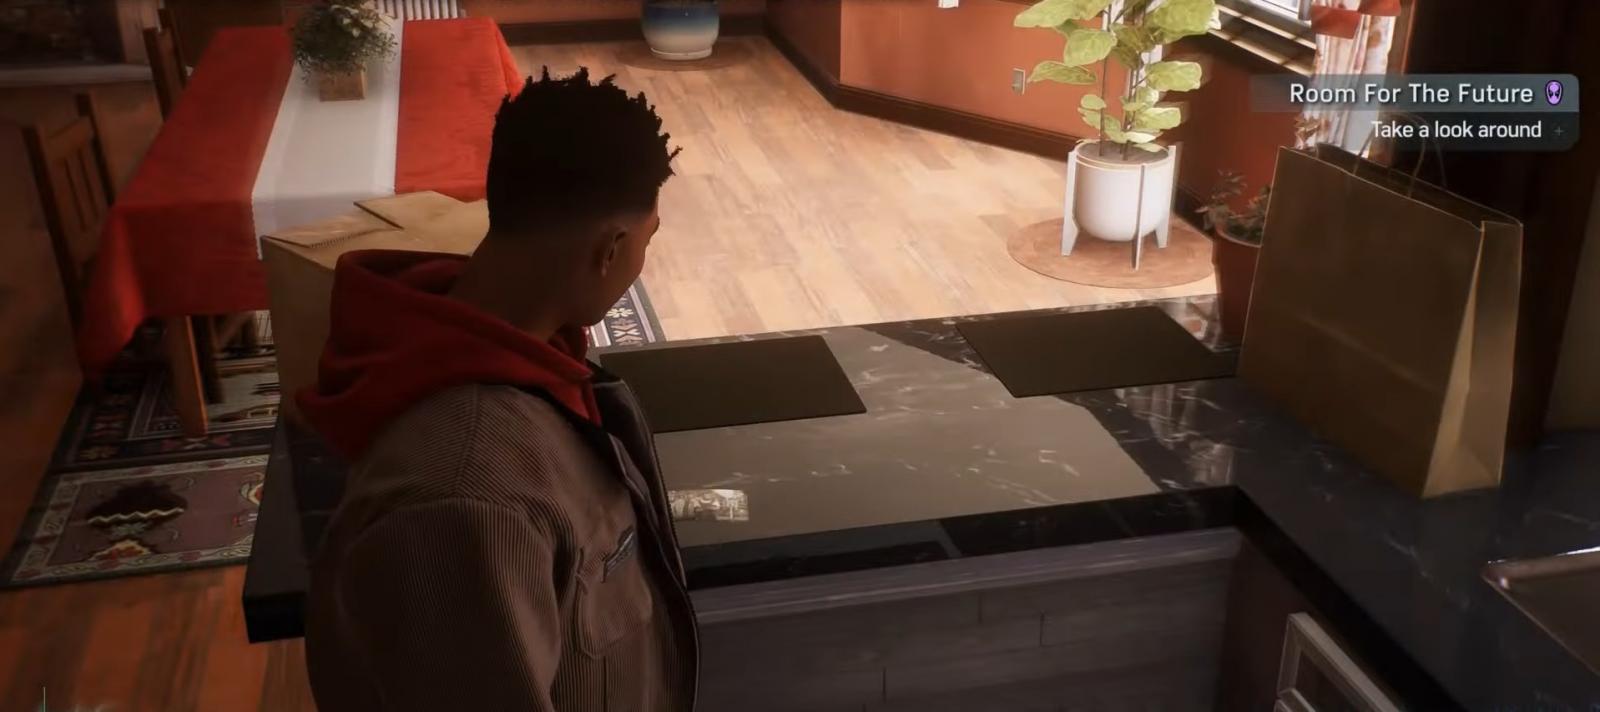
Go to the east of the area and grab the briefcase on one of the roofs.

Explore the guest room and kitchen. After that, follow the noise.

How to get Home Run! achievement in Marvel's Spider-Man 2
- 1666
- 0
- 31 oct 2023
Requests from the FNSM application: how to complete the missions
- 2557
- 0
- 2 nov 2023
How to Complete the Flame Side Quest in Marvel's Spider-Man 2
- 1961
- 0
- 2 nov 2023
Comments 0
Rules for writing comments. For non-compliance - ban!
- Use of profanity (mat) in messages
- Communication is not on the topic of the material
- Any insults of other participants, including the author of the material
- Writing messages in whole or in part in CAPITAL letters (Caps Lock)
- Expressing your opinion without supporting it with arguments
- The use of links to third-party sites, or the use of images/videos/other content containing the aforementioned links
Messages that violate these rules will be deleted, and malicious violators - deprived of the ability to add comments on the site!