-
Games
Total materials on the site: 32130View all games 279
-
Genshin Impact
-
Mods
7 with 5 for Genshin Impact
How to get and complete the "Ann`s Story" quest in Genshin Impact
Pam-param-pam, we continue the analysis of the well-known, due to its unforgettable duration, chain of quests with the Oceanid. The second act goes as a whole piece, so the guide for this part is one - and it's right in front of you, just swipe down.
How to Get the "Ann's Story" Quest
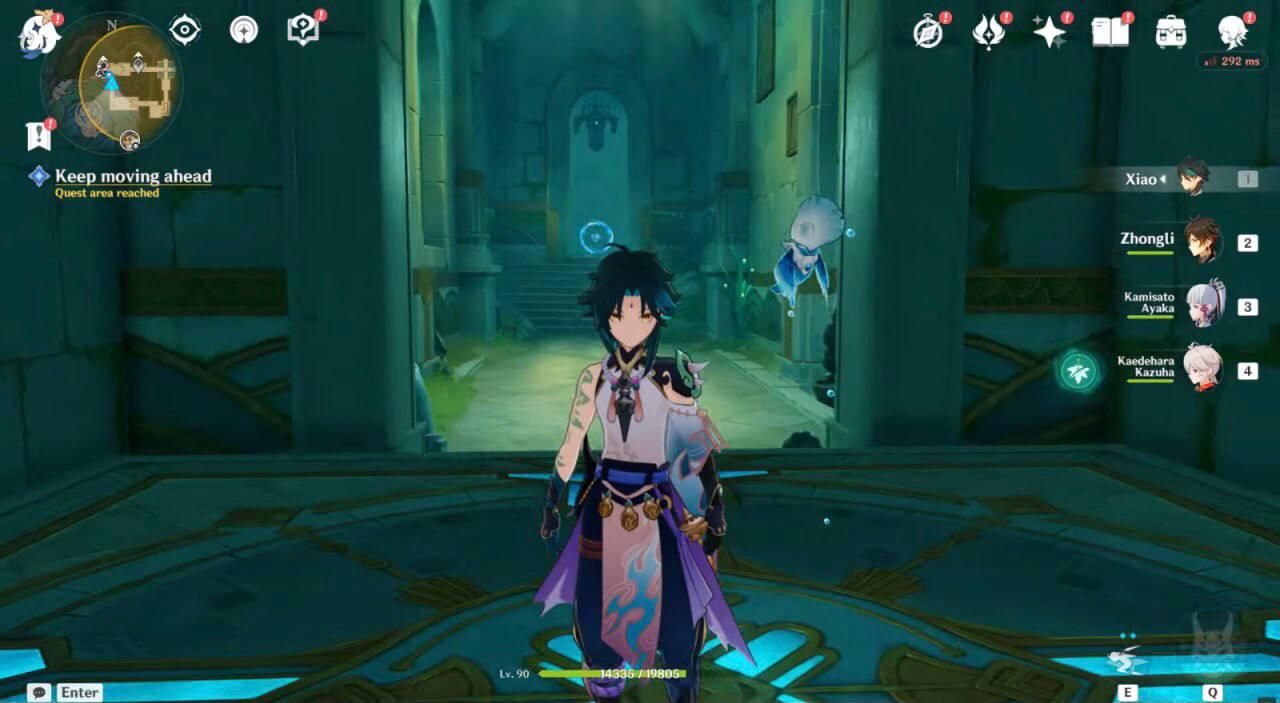
Immediately after completing the previous part ("Princess and Hero Party's Story"), you find yourself in the library with "Ann's Story" in the menu. Even if you've left the location for some reason, you can return using the automatically activated teleport.
How to Complete the "Ann's Story" Quest
I highly recommend memorizing all the actions described below on your first run, as due to quest requirements, bugs, or other factors, you may find yourself returning, and I will be referencing these steps accordingly.
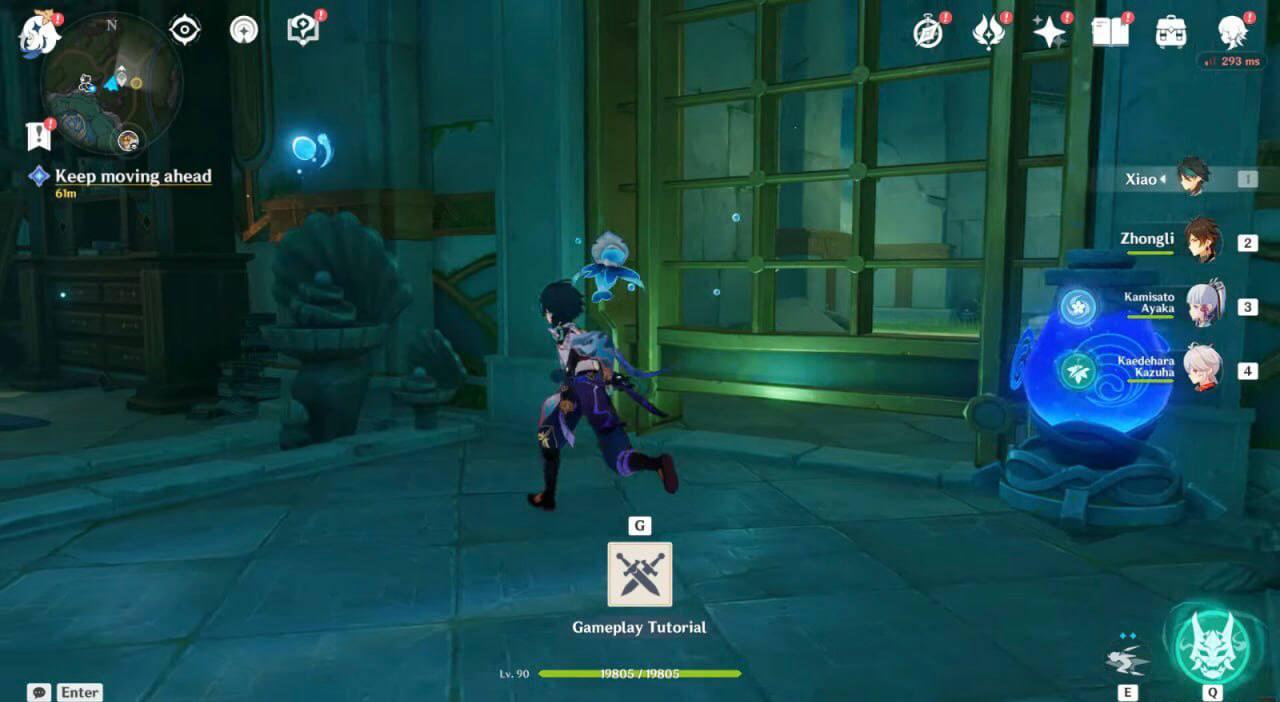
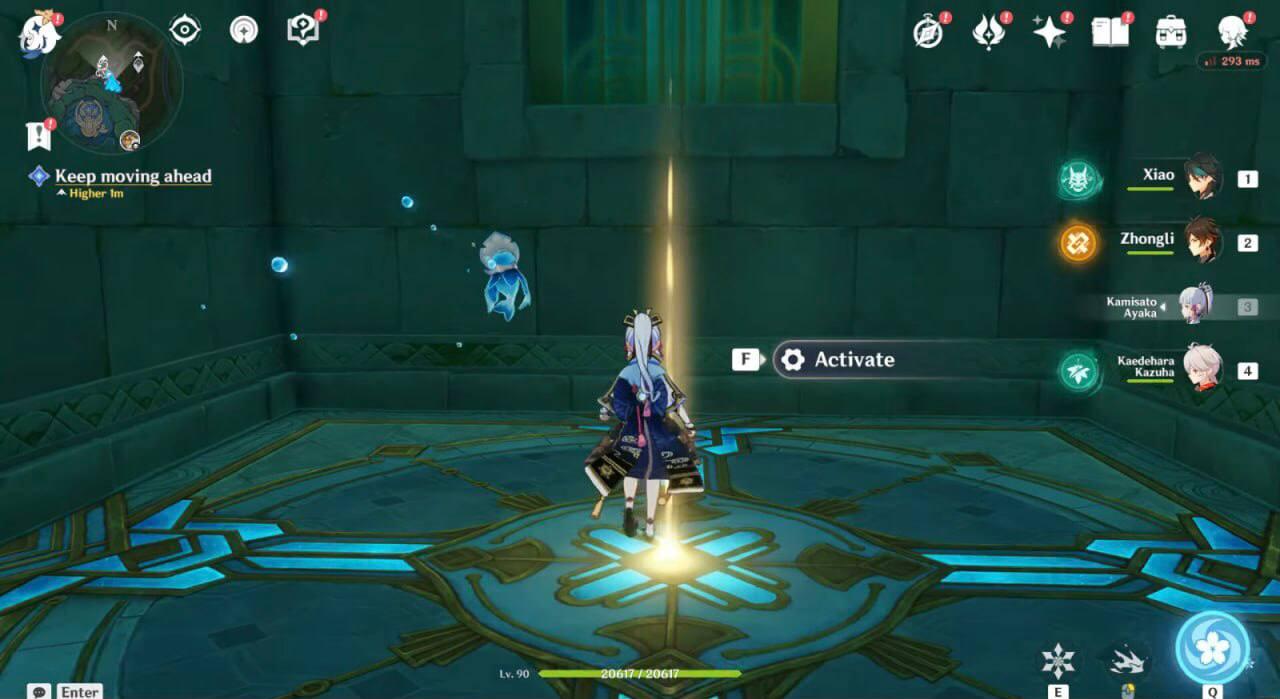
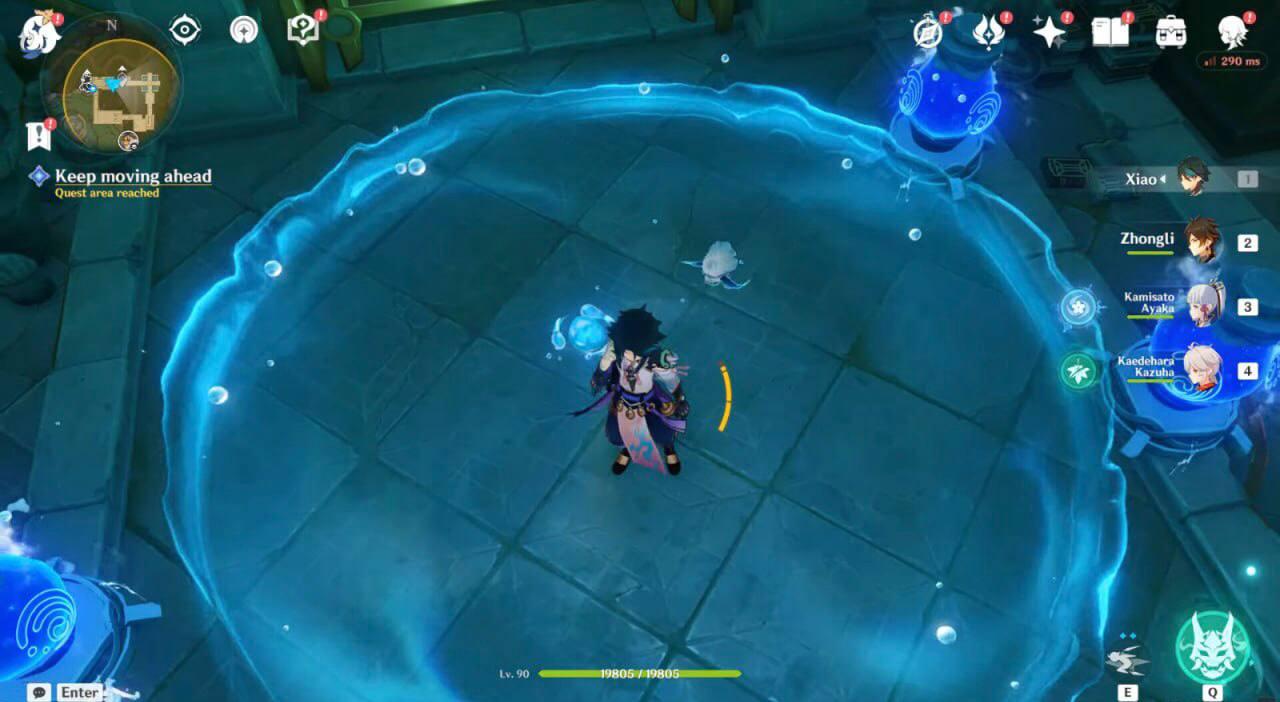
At the far end of the room, in the quest marker area, you'll find a Hydro Monument. It activates with an aura obtained from three Hydro Crystals. Their locations are shown in the screenshots below.
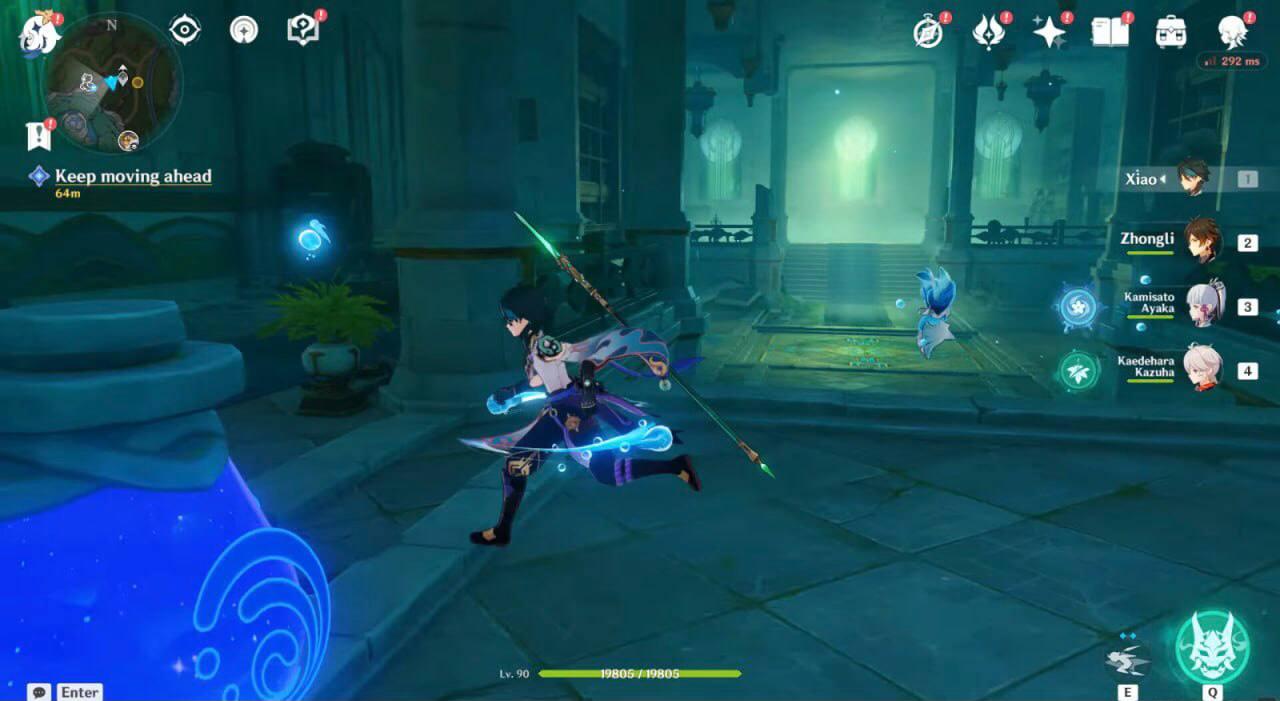
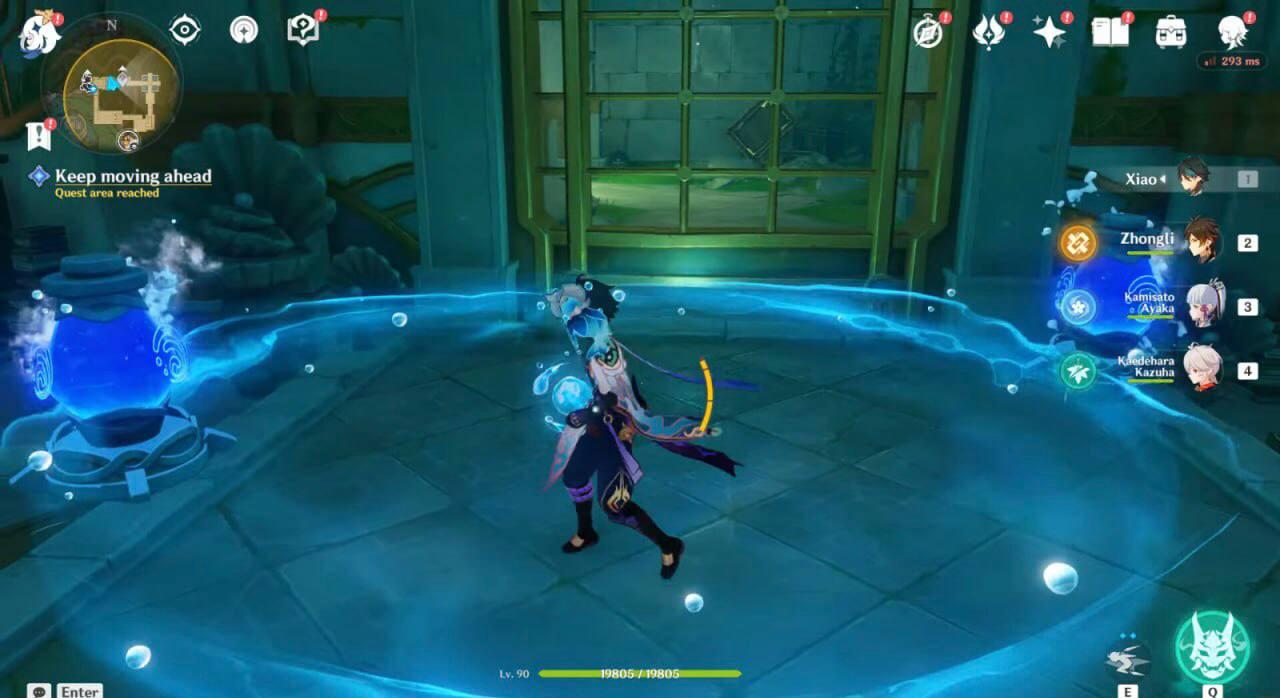
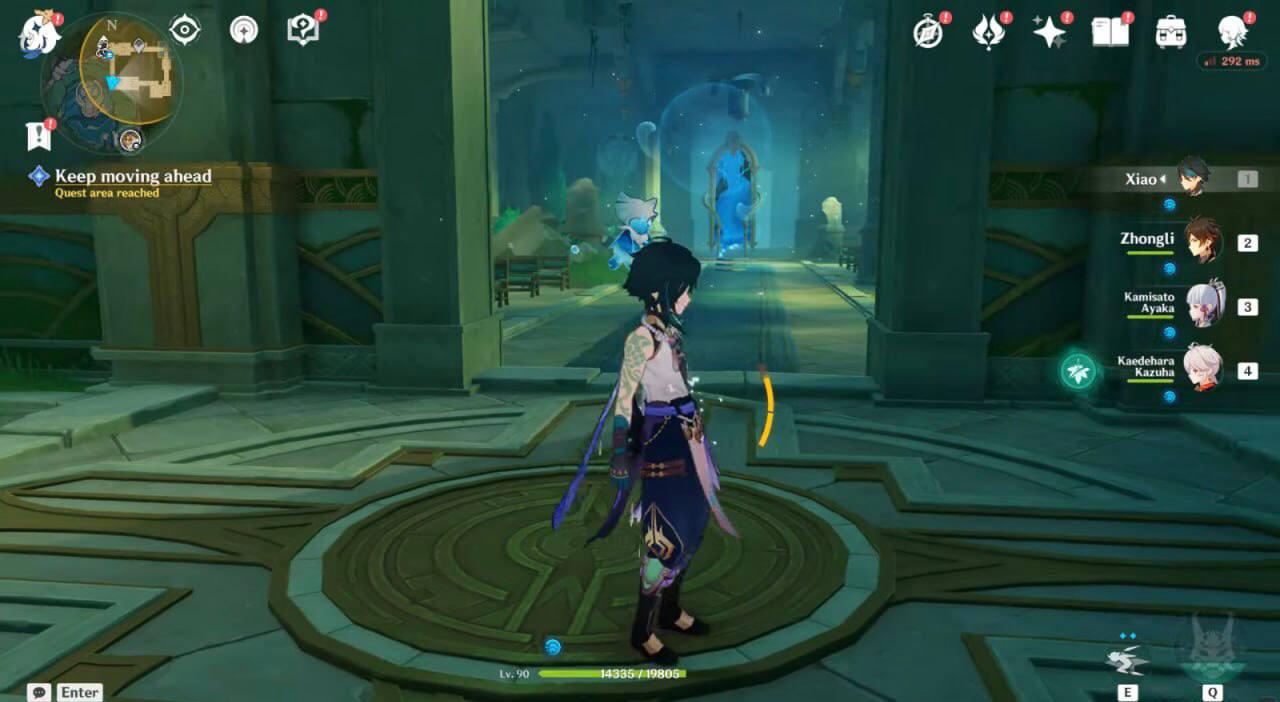
As a result, a stream is unlocked, which will transport you down the corridor to a fountain.
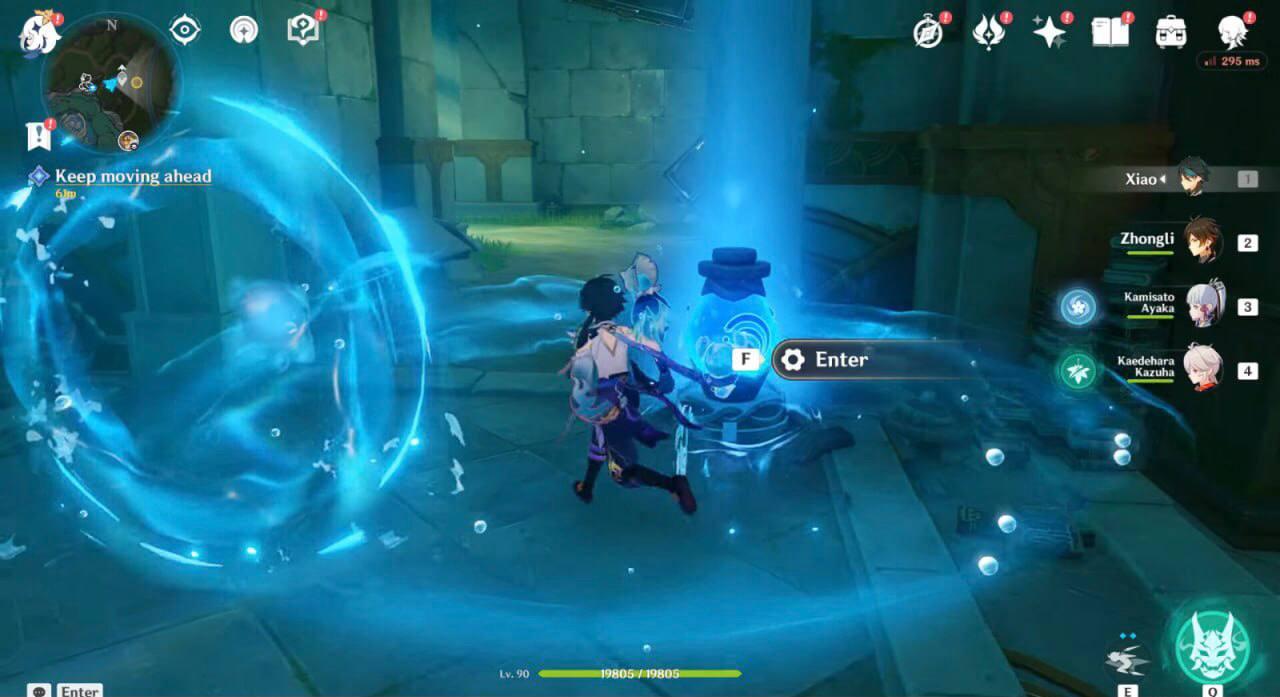
Next, you'll need to make a left turn towards the door mechanism.
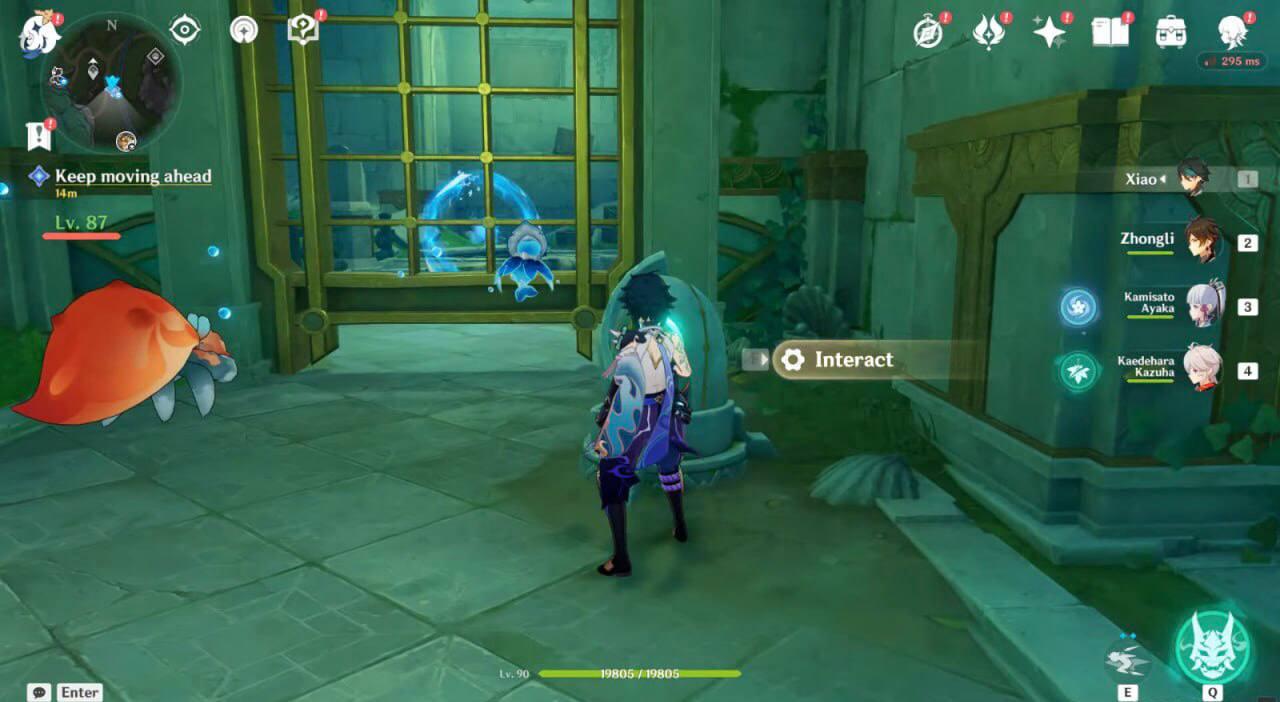
You'll immerse yourself in the next stream and move down the corridor (it's solid, so you can't get lost). In one of the rooms, you'll encounter an Elite sea Horse.
After resolving the situation, a regular chest will spawn, and opening it will unlock the door.
Once again, no need to walk - you'll be transported directly to the platform elevator by the stream.
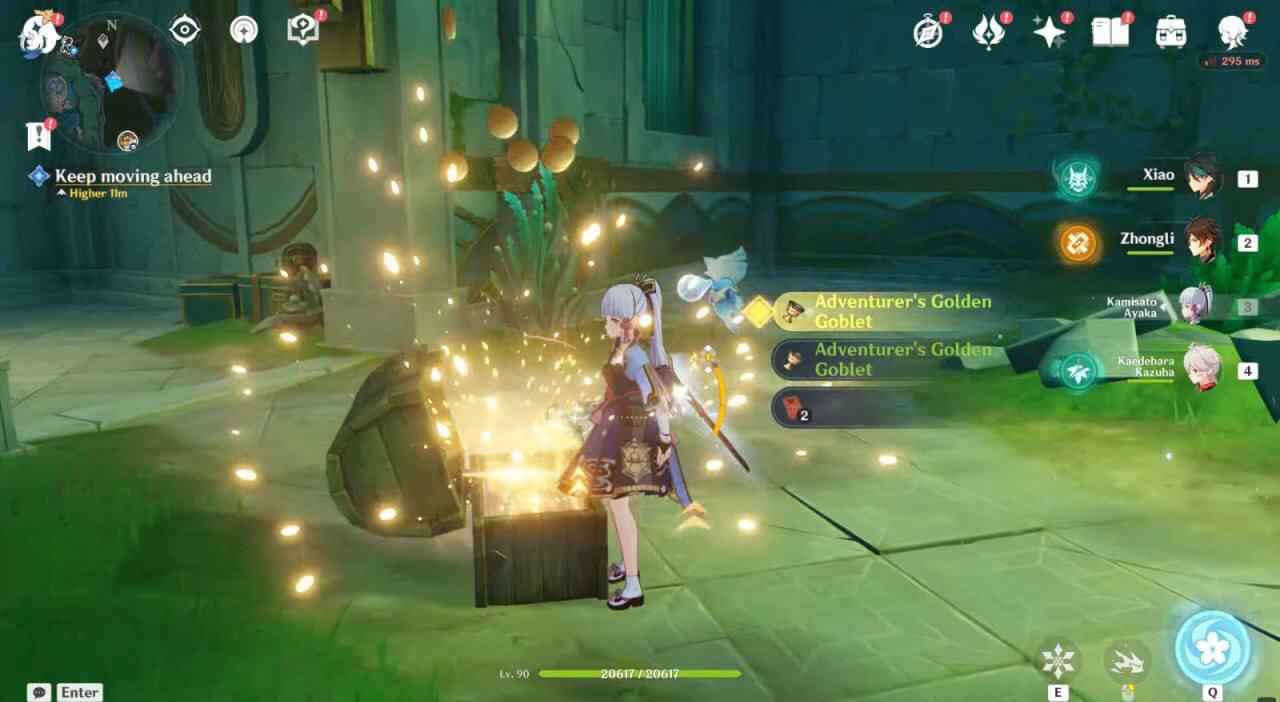
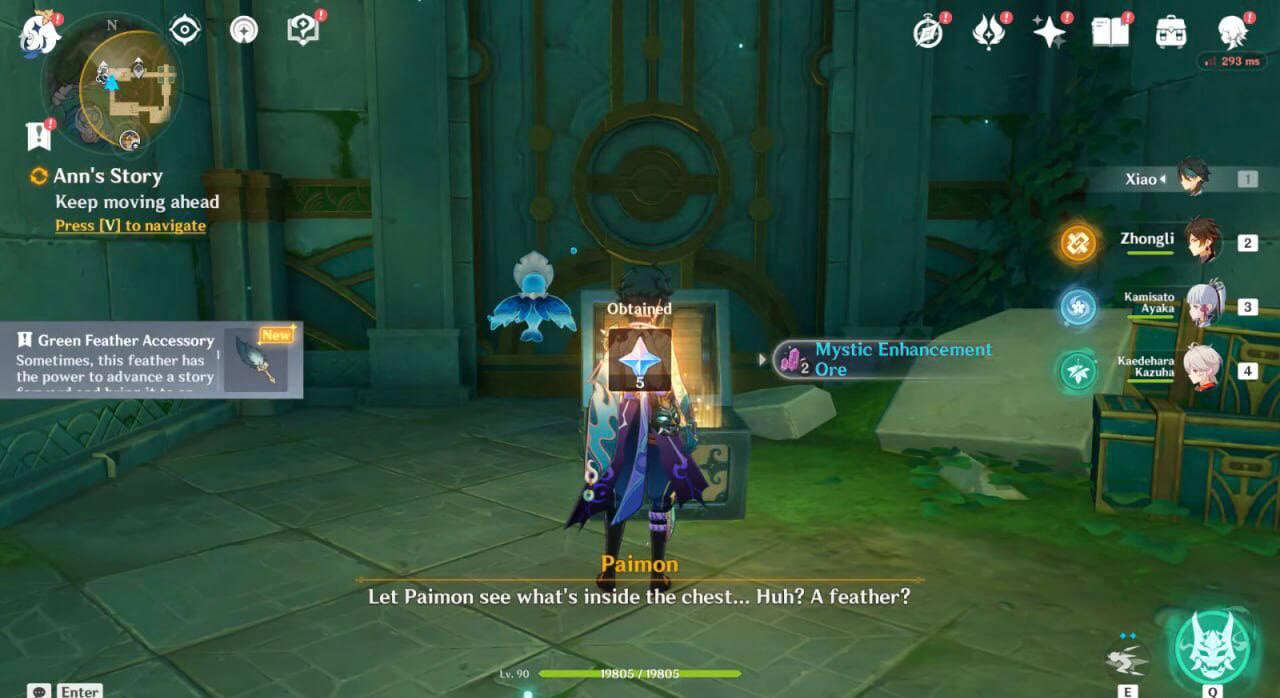
At the top, the passage opens to a rich chest with the "Emerald Feather". This is an important quest item that, unlike others, doesn't disappear from your inventory upon use. I mention this so that no one panics about the strangeness of the quest in the near future.
Now, the real fun begins. This is a prime example of gaslighting, leading the player into a state of false amnesia. Don't worry; this local loop is not as long as the Twilight storyline.
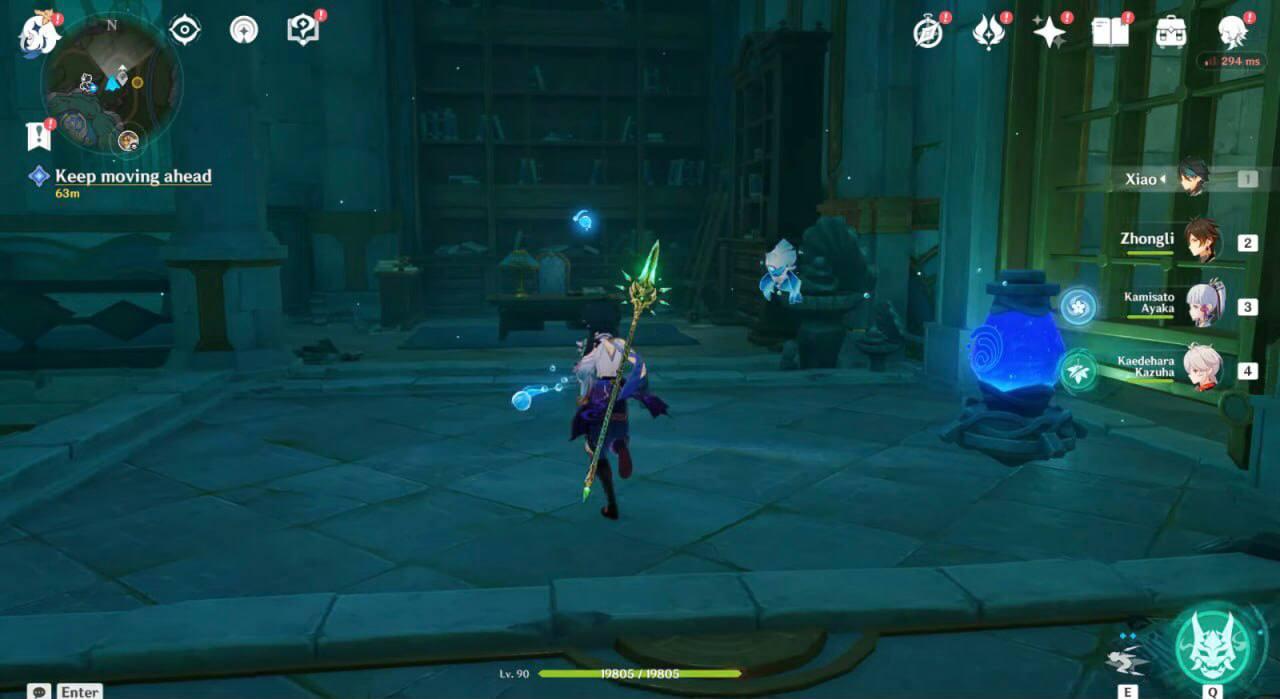
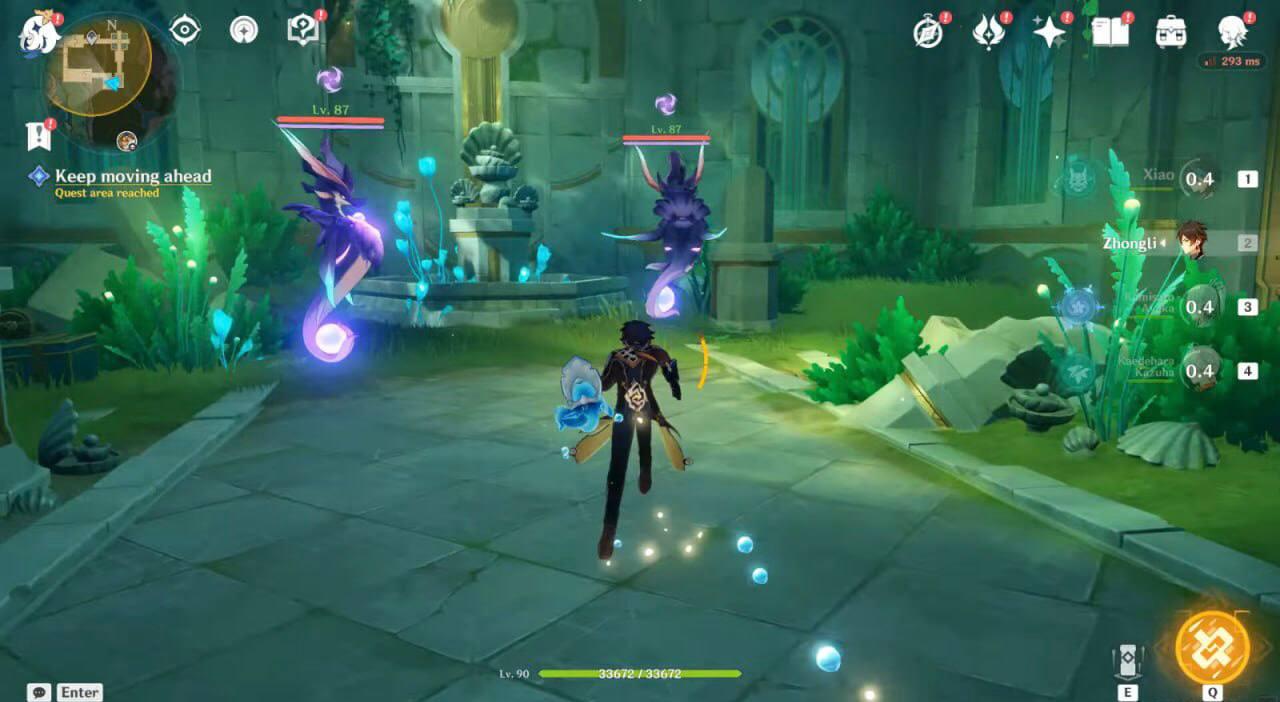
Go to the monuments near the library exit: now there are two of them (you need to activate them simultaneously). You can collect Hydro Crystals in the same places as before.
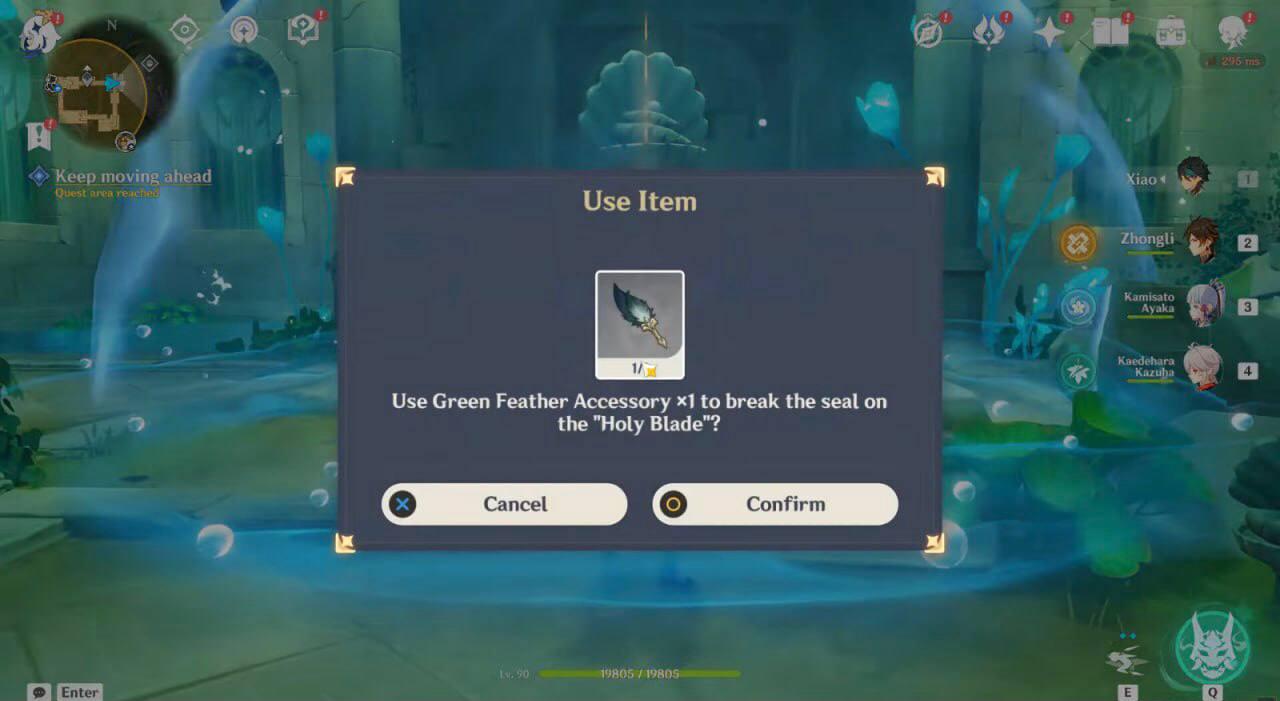
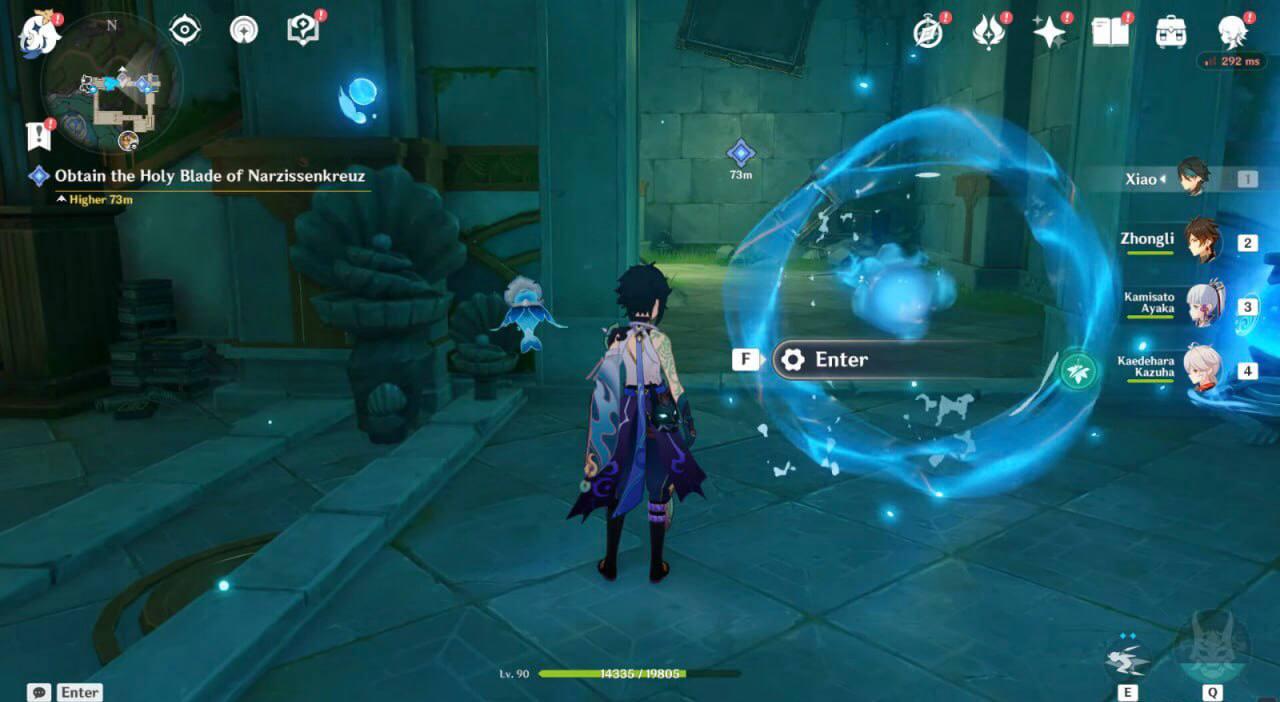
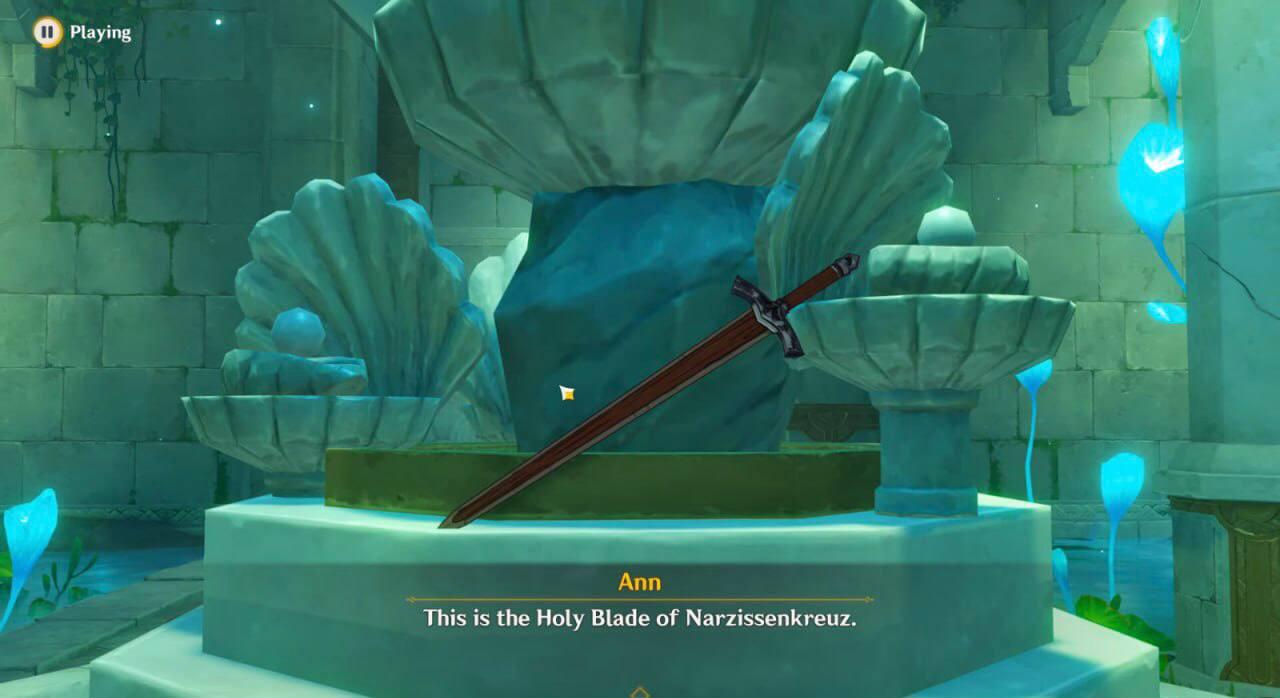
Repeat the previous walk-through, offer the "Feather" to the fountain, and retrieve the Amazing (Rusty) Sword.
On the same path as before, you'll now find not one but two sea Horses in one room. Take care of both, get a rich chest, and raise the gate.
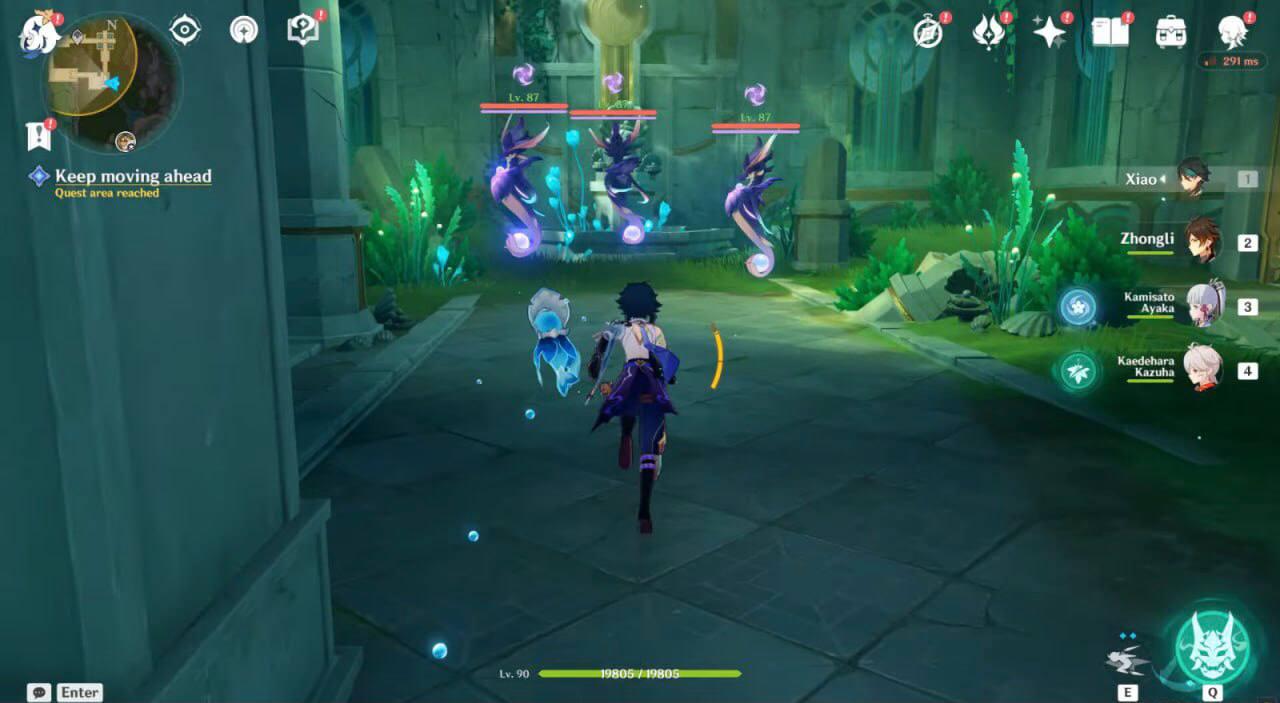
Eventually, you'll return to the library (again). Now you need to activate three monuments.
And defeat three sea Horses. With a precious chest and passage further, of course.
By this point, you might be a bit tired of the marathon through the same ruins. The quest has two possible outcomes here: either you continue endlessly (and I mean endlessly) chasing quest advice and markers, imitating wanderers, or you gather the courage to stand up to the system and turn back.
Although the latter option is also illusory since the dialogue suggests such a solution (though the way to proceed is still not obvious to many players, so it's forgivable).
Turn on the way to the elevator and in the elevator itself (even jumping out of it to the lower floor, as shown in the screenshot). The stream behind you will immediately reset, and a portal will form between the temple benches.
Entering it will immediately teleport you back to the library. The last trip is straightforward: the monuments are already activated, and the target is in the first room you come across.
Here, too, the game's behavior may be quirky. I recommend not blindly following the quest's instructions and the "move on" prompt, but immediately use the teleport to prevent a bug. If you did manage to trigger it, then use the "turn back" as you did before.
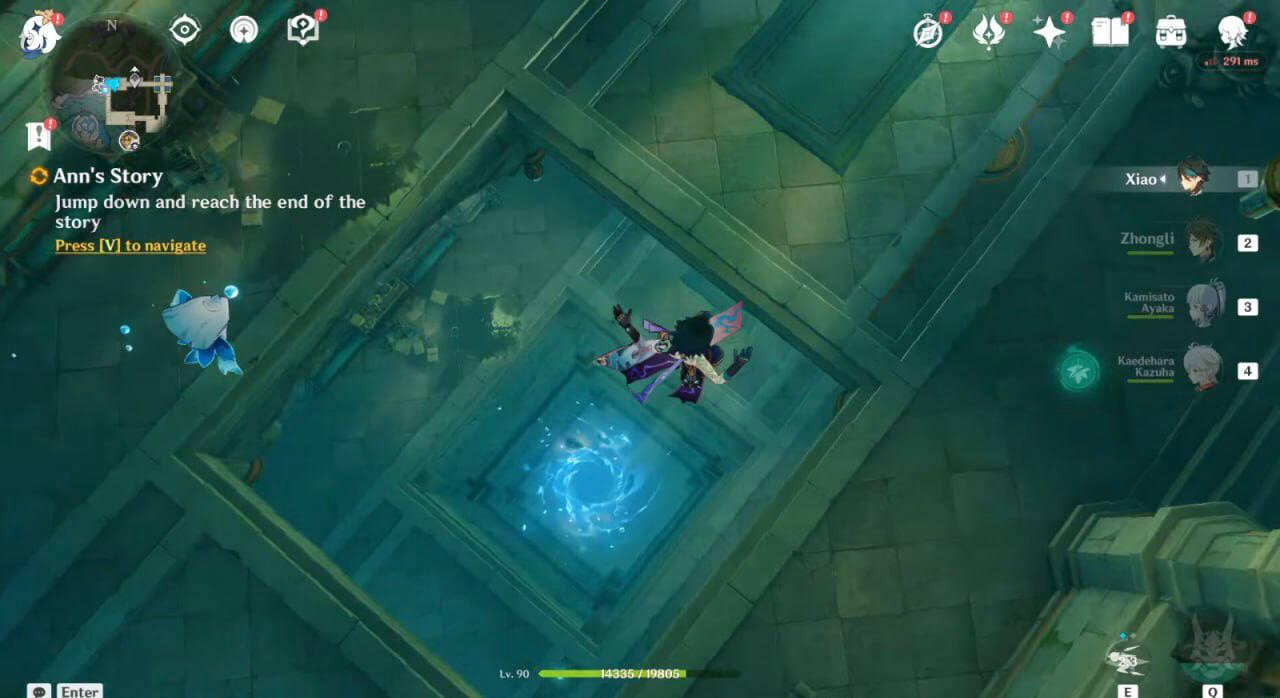
After the cutscene revealing the underground mechanism and a leap of faith across three spans.
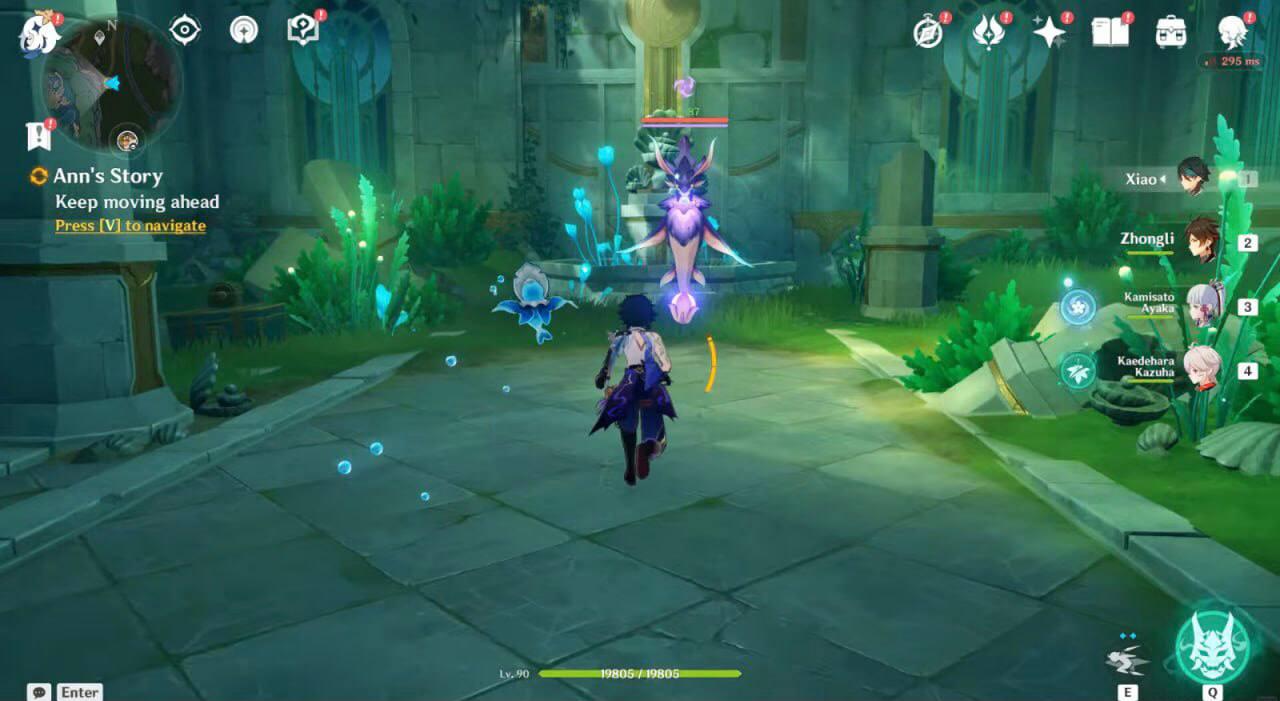
Here, just like in the fairy tale, you'll commit the murder of a dragon. Only the killer is you, and the "dragon" is actually the Oceanid. It behaves similarly with one difference: in some "windows" of its patterns, the boss (in addition to minions) is vulnerable to attacks and can take incoming damage itself.

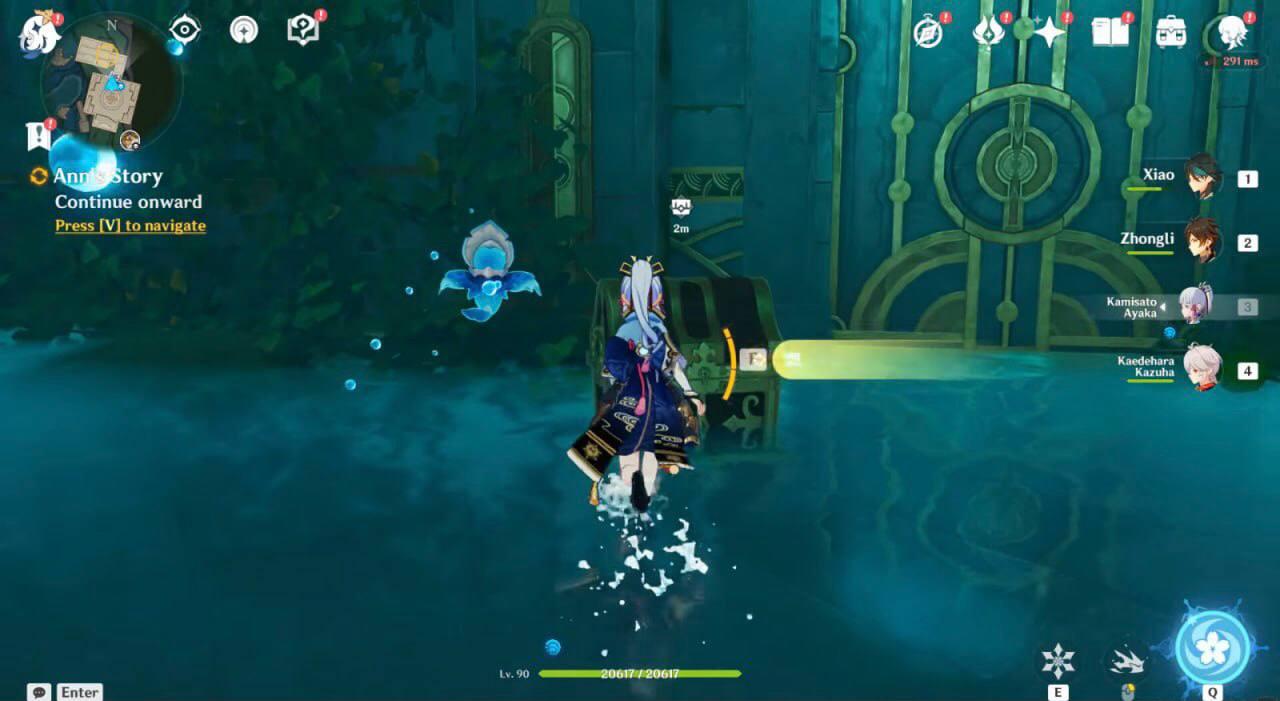
In case of victory, there will be triumphant text and you'll receive a Precious Chest. It also unlocks further progress.
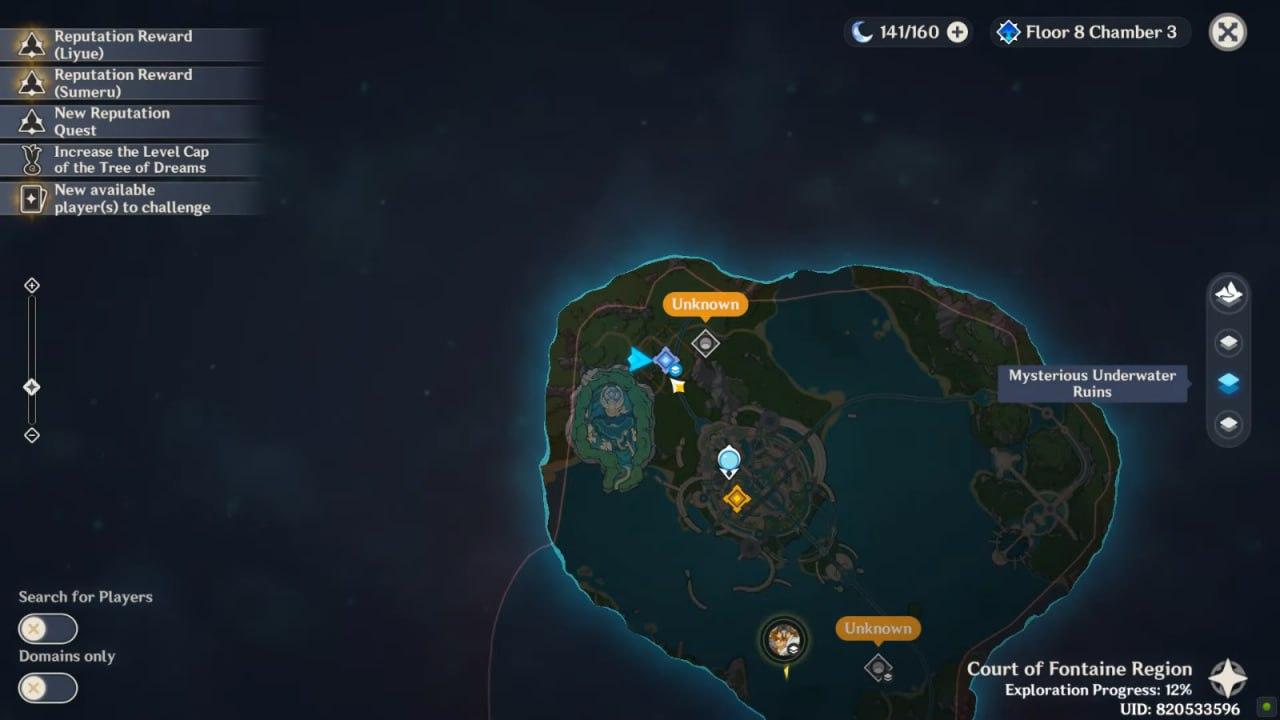
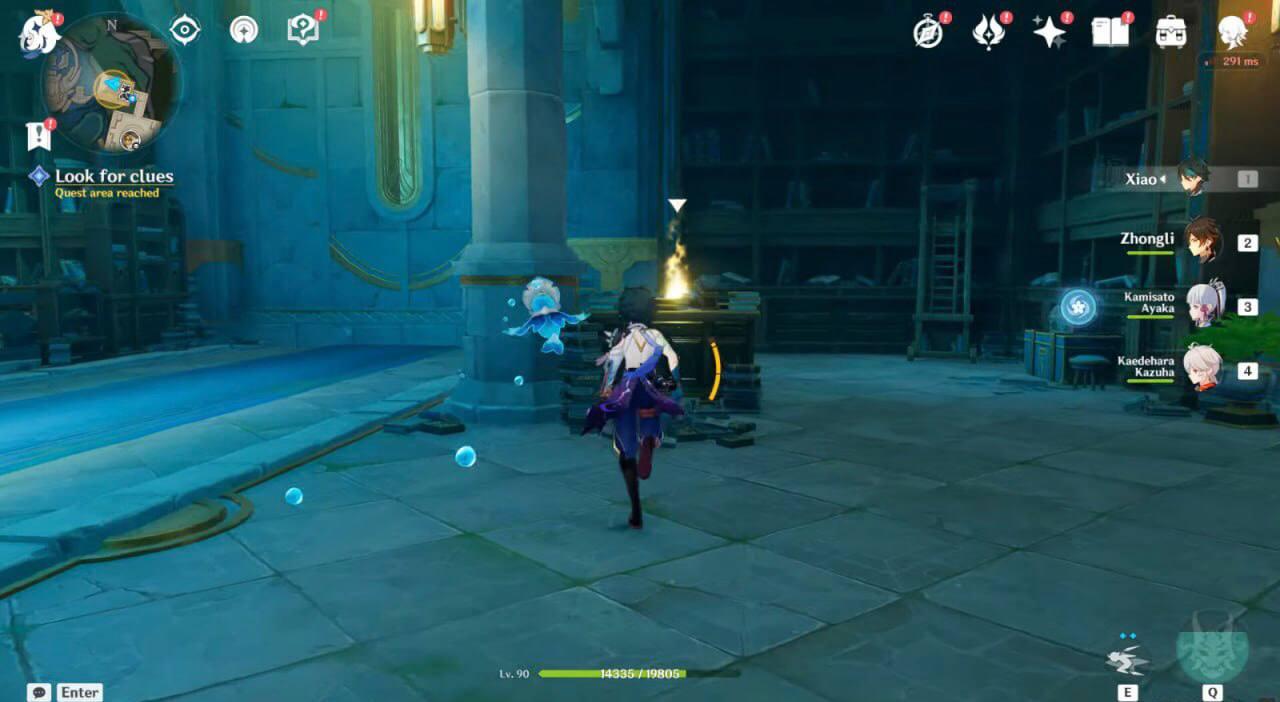
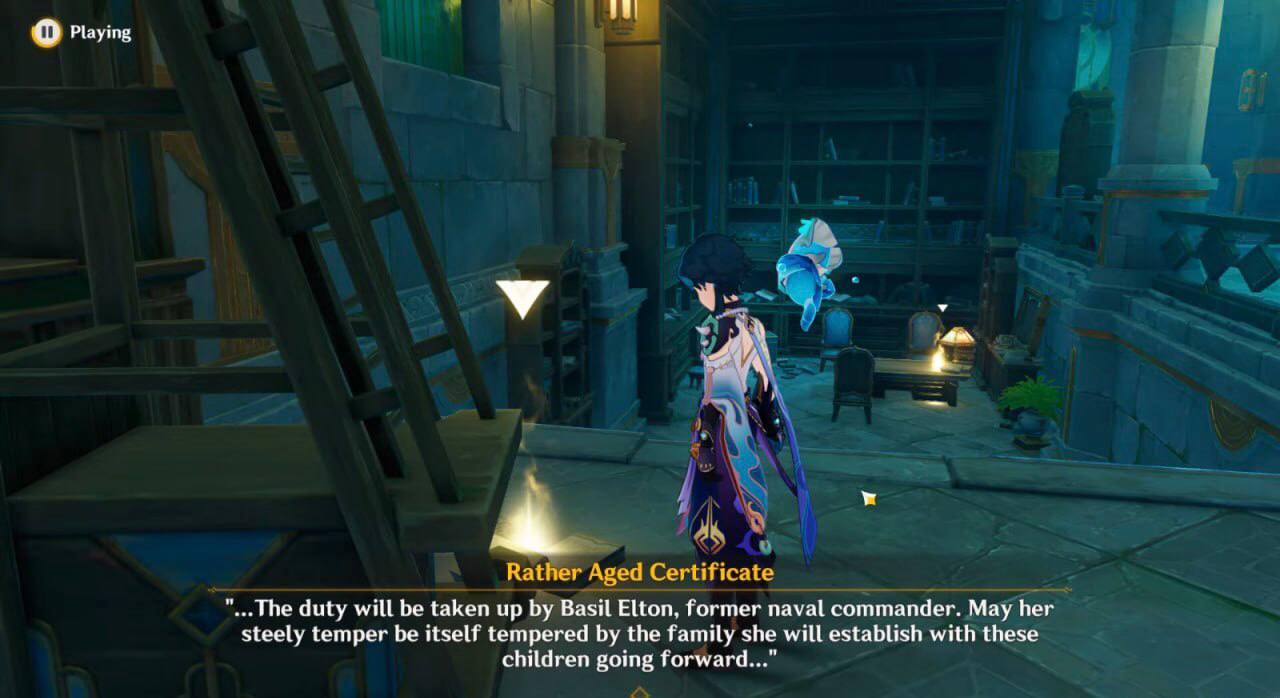
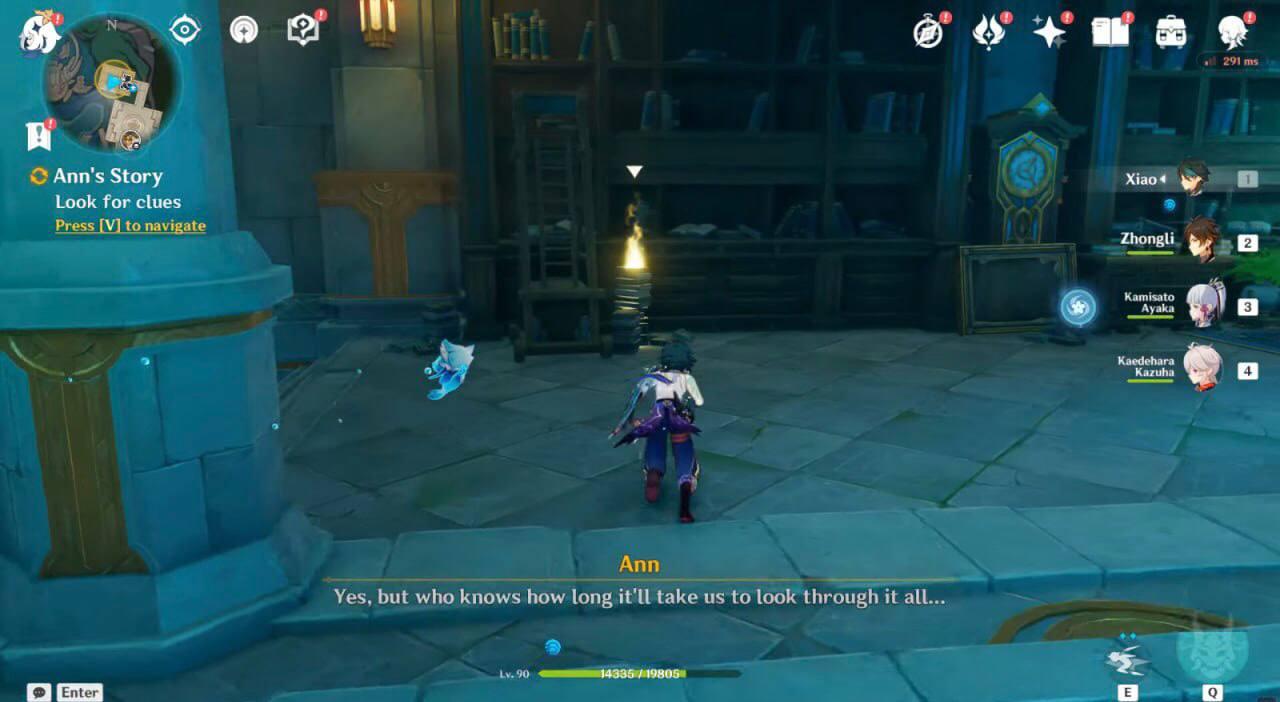
The last task is to find clues. There are a total of five of these insane notes, and they can be found here:
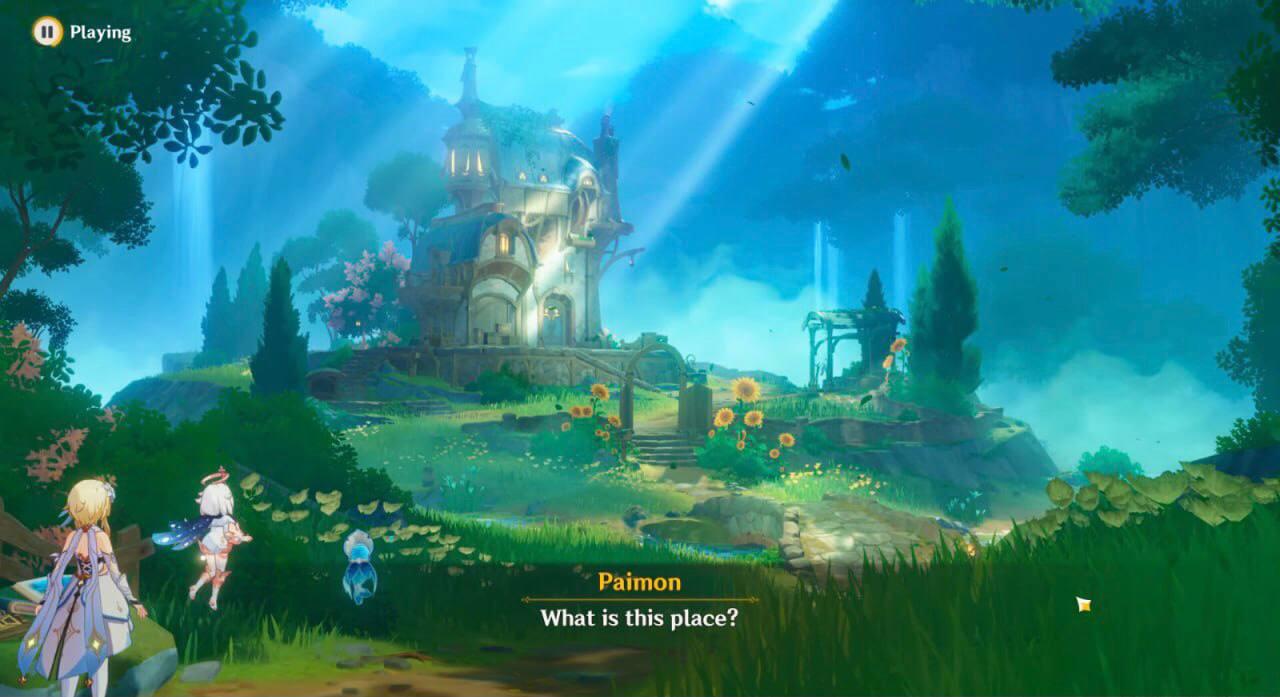
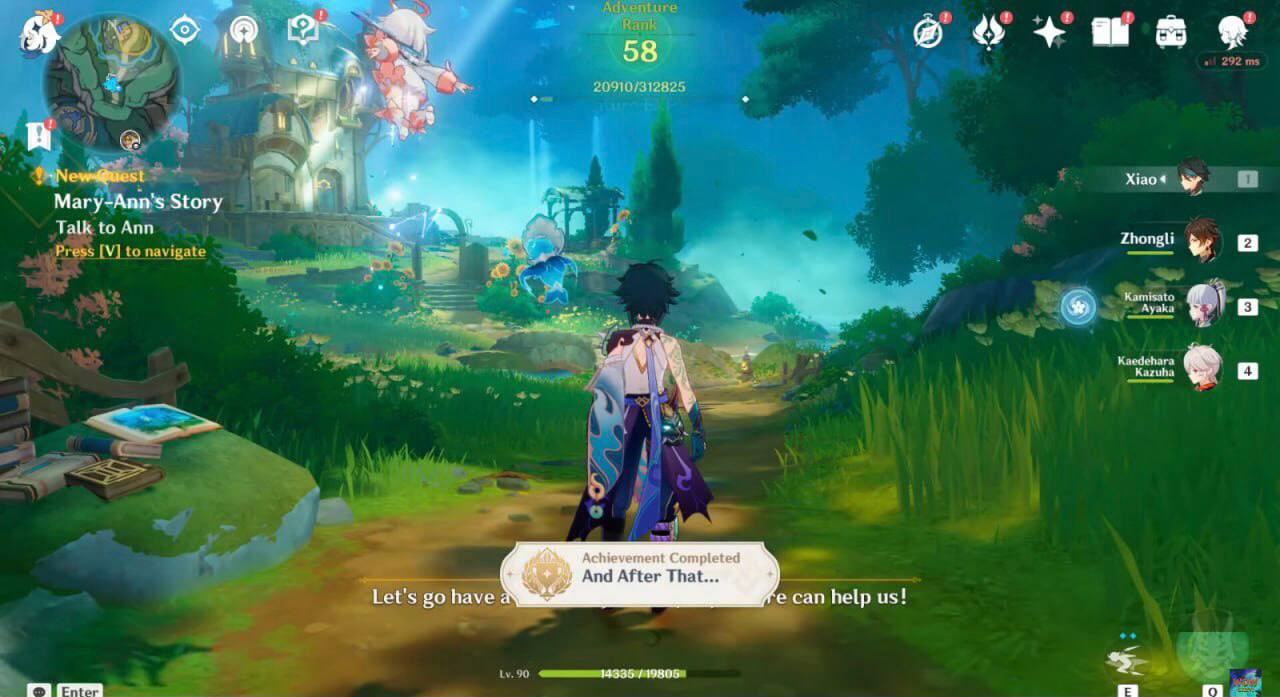
So, we've managed to complete it, and you've emerged victorious. In the end, you'll find yourself in a picturesque location, and in your pocket, you'll have 50 Primogems, 450 Adventure Experience, 50,000 Mora, 5 Hero's Experience Books, and 4 pieces of Enhancement Ores. Oh yes, you'll also have the "And Then..." achievement on top of it. You can continue to explore Ann's story in the "Mary-Ann's Story" quest.
It was tiring, but the game was definitely worth it, don't you think? Many thanks to WoW Quests for the screenshots.
How to start and complete Intensive Drumming level in Genshin Impact
- 2188
- 0
- 26 aug 2023
Comments 0
Rules for writing comments. For non-compliance - ban!
- Use of profanity (mat) in messages
- Communication is not on the topic of the material
- Any insults of other participants, including the author of the material
- Writing messages in whole or in part in CAPITAL letters (Caps Lock)
- Expressing your opinion without supporting it with arguments
- The use of links to third-party sites, or the use of images/videos/other content containing the aforementioned links
Messages that violate these rules will be deleted, and malicious violators - deprived of the ability to add comments on the site!